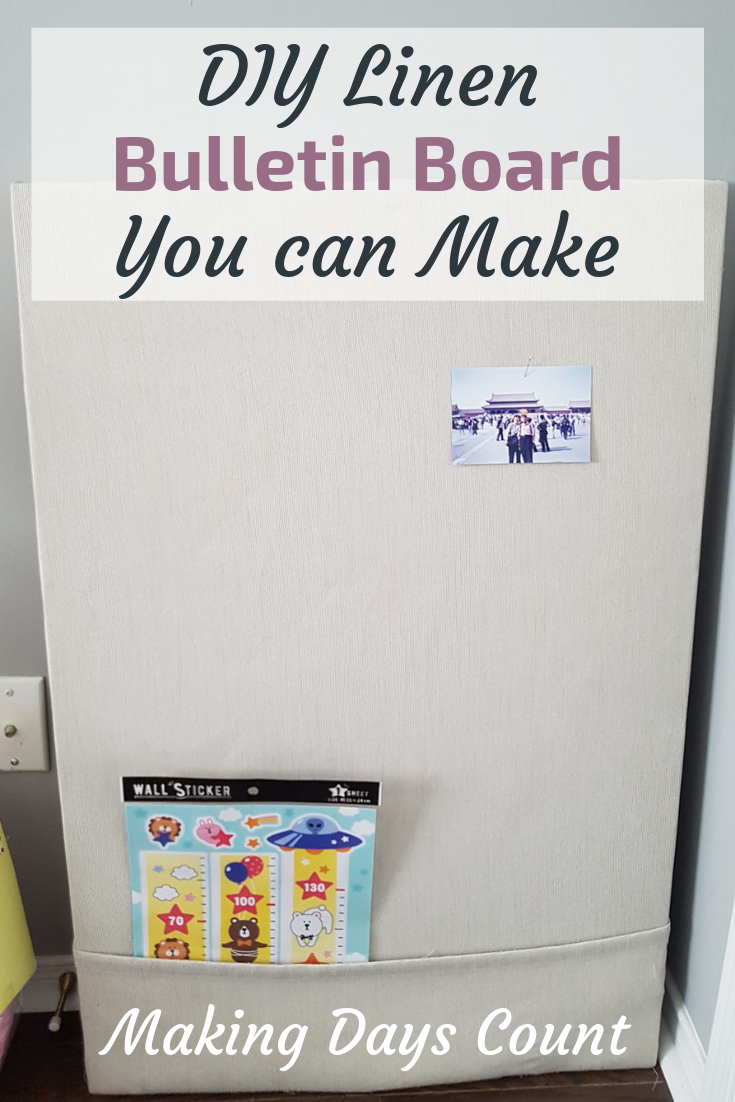
When M and I were thinking of designing one of the rooms in our house to be a home office, I wanted to include a bulletin board on the wall. I loved the idea of pinning important things on the board so that I can visually see and remember what I need to do.
When I became pregnant with Baby K, this idea was put to the side but I am finally doing it. Yes, after 9 months of having a baby, I am easing back into DIY projects.
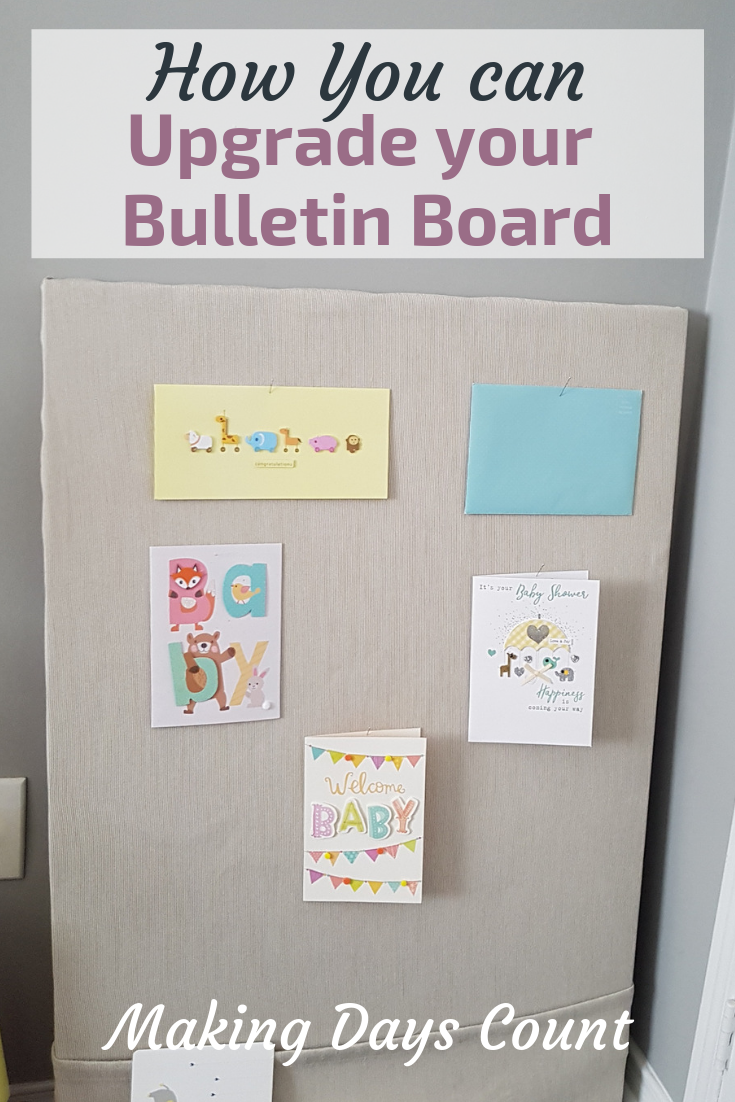
Having a bulletin board covered with linen was such a great idea because it can be part of your decor and also you can change it anytime.
This idea was not my original idea, but I saw it on Driven by Decor blog. It inspired me to also decorate my own bulletin board.
If you are interested in different DIY projects around the house, feel free to check out my other blog posts:
- DIY Home Decor: Thrifted Floating Shelves
- Easy DIY Clothing Organization Label
- Faux Flowers on a Budget
Pin this for later!
Contents
Here is how you can create this linen-covered bulletin board:
BY CLICKING THE LINKS AND MAKING A PURCHASE, I MIGHT BE EARNING A SMALL COMMISSION AT NO ADDITIONAL COST TO YOU. PLEASE SEE OUR FULL DISCLOSURE FOR MORE DETAILS.
What you will need:
- 2 feet by 3 feet Bulletin board (I got mine for $5 at a garage sale, but you can buy it online)
- Staple gun (here is a similar one as the one my sister lend to me)
- Linen (I used an old curtain, but you can get something similar here). Your fabric should be at least 5 inches wider and taller than your bulletin board.
- Scissors (Fabric scissors is preferable)
Here are the steps:
Word of caution: The staple gun is really loud so M took Baby K for a walk outside while I do this project. If you have young kids who might be afraid of loud noise, try to do it somewhere where they are not or get a family member to take them out for a bit. Also, try not to do it at night as the neighbours might hear you. I felt like I was doing construction work with loud sounds.
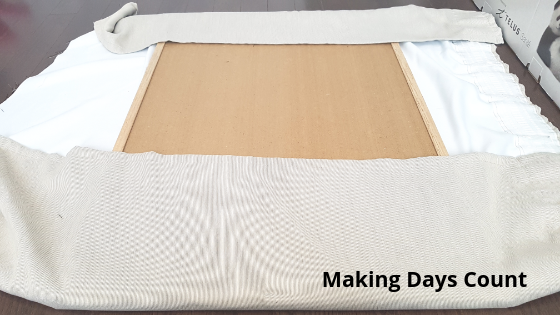
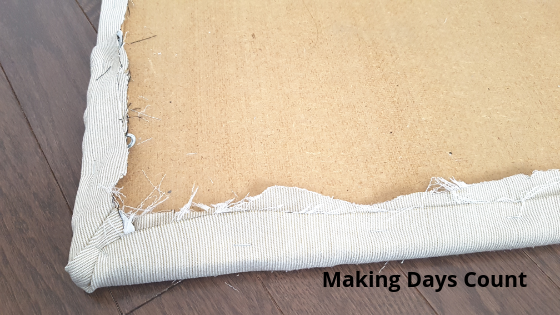
One: Lay down the cloth with the front facing the floor
Place your linen, fabric, or old curtain on the floor with the front part facing the floor. You want to make sure that it is flat and smooth.
The reason why the cloth needs to be at least 5 inches wider and taller than the board is because you need enough cloth to wrap around it. You can always cut the extra linen off if needed.
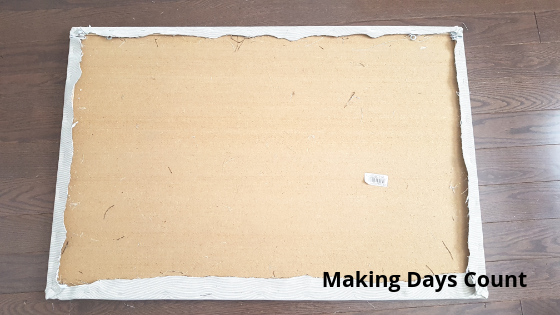
Two: Put your bulletin board on top of the linen with the front facing the floor
Similar to putting the cloth on the floor, you want to put your bulletin board facing downwards. Place it in the middle of the cloth where you will have plenty of leftover cloth to staple behind the bulletin board.
Three: Staple one side and then the immediate opposite side
This is the fun yet really loud part. Start from the middle of one side and staple it down to the wood part of the frame.
Then, I went to the opposite side. I pulled the cloth so that it is tight and staple it down on the opposite side. The reason for this is that you want a smooth look in the front of the bulletin board.
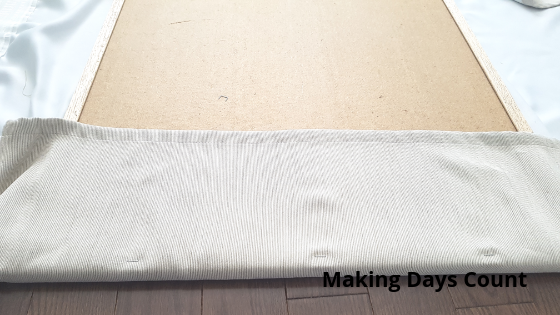
At first, I would staple them 5 to 6 inches apart. Don’t worry, we will add reinforcements later. After you staple all four sides down generally, we will then tackle the corners to create a smooth look.
Cut out the extra linen as necessary. It is better to use fabric scissors as mine was regular scissors and the lines were not straight.
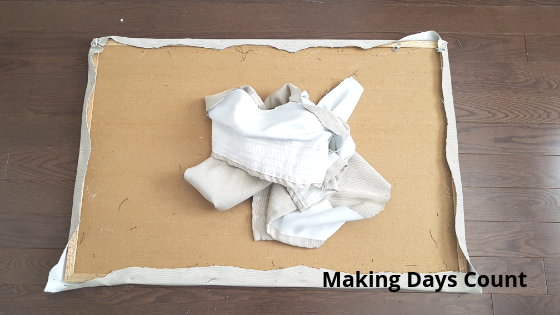
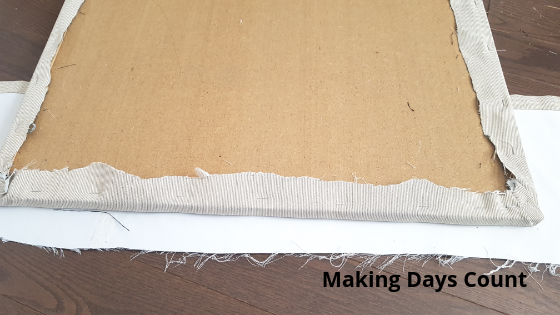
Four: Tuck and Fold the corner of the frame before stapling
Take the corners and fold them towards the center of the board. When you are holding them tightly, you can staple them down. This will create a smooth corner while you turn it around to take a look.
You might need to add more staples on the sides of the corner to hold it down properly.
Five: Add reinforcements where necessary
Now, add more staples throughout the sides where you see necessary. I stapled in between each of the staples (in step 3) while pulling at the cloth to make sure that it is snug and tight.
This will ensure that it is secure and no bagginess in the front when I pin heavier stuff on the bulletin board.
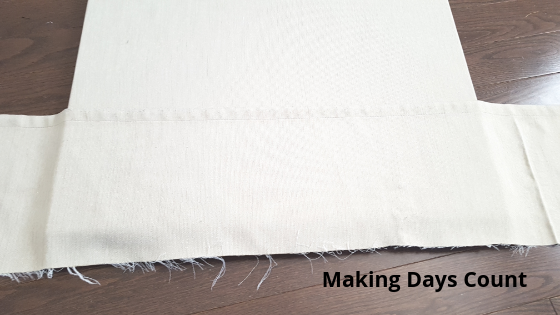
Six: Use leftover linen to create a pocket at the bottom (Optional)
I wanted to create a pocket at the bottom of my bulletin board so that I can put things in it without pinning it. It could be oversize letters or heavier items that I rather not pin.
Using a leftover cloth which was about 9 inches tall (7 after stapling it on), I wrapped it around the bulletin board and staple it down.
If you would like to add the pocket as well, use the same method as above except that it is only 3 sides instead of 4.
Seven: Decorate and Enjoy
Once you are done, hang it up and decorate as you wish. It is a really fun and simple way to add a functional yet pretty piece to your wall.
Thank you so much for reading. If you are interested in other DIY projects, please check these out:
- DIY Home Decor: Thrifted Floating Shelves
- Easy DIY Clothing Organization Label
- Faux Flowers on a Budget
If you like what you read, please pin the image below and share it with others.
Leave a Reply