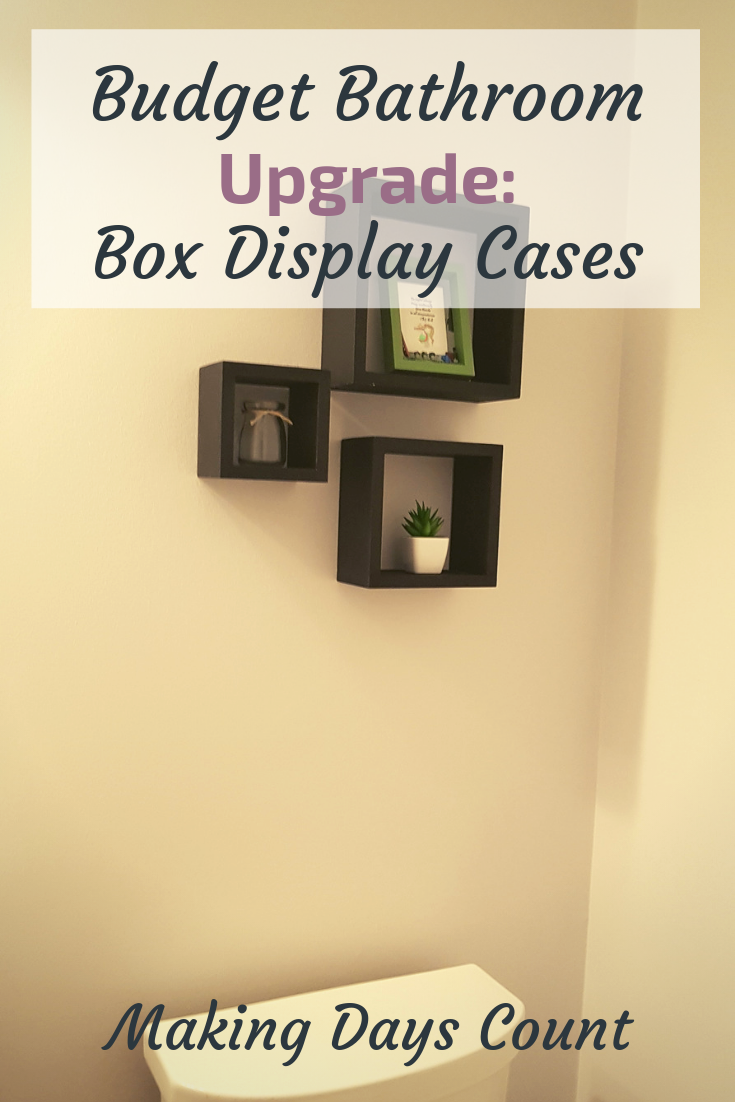
It’s the end of the summer and almost the starting of the fall season. This means that we need to start preparing our place if we are inviting them over for the fall festivities such as thanksgiving or back to school BBQ. One of the places that we could start decorating affordably is the bathroom. I find that guests might not see other places in the house, but they will check out your bathroom. Why not add a little decor to upgrade your bathroom on a budget?
I love to go on Pinterest and find all the different ideas that are so beautiful. However, I want to set for myself a strict budget so that I can be creative with what I have and what I can find in the stores.
This project was planned a long time ago, but after we had the baby, it was in the back of my mind. Now that she is older and I am starting to do DIY projects again, I want to pick this back up and finish the project.
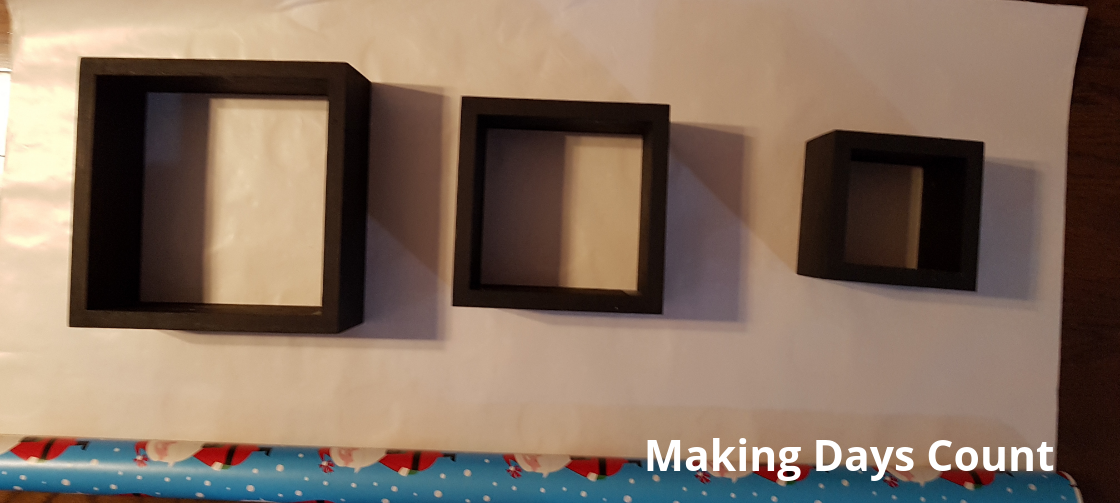
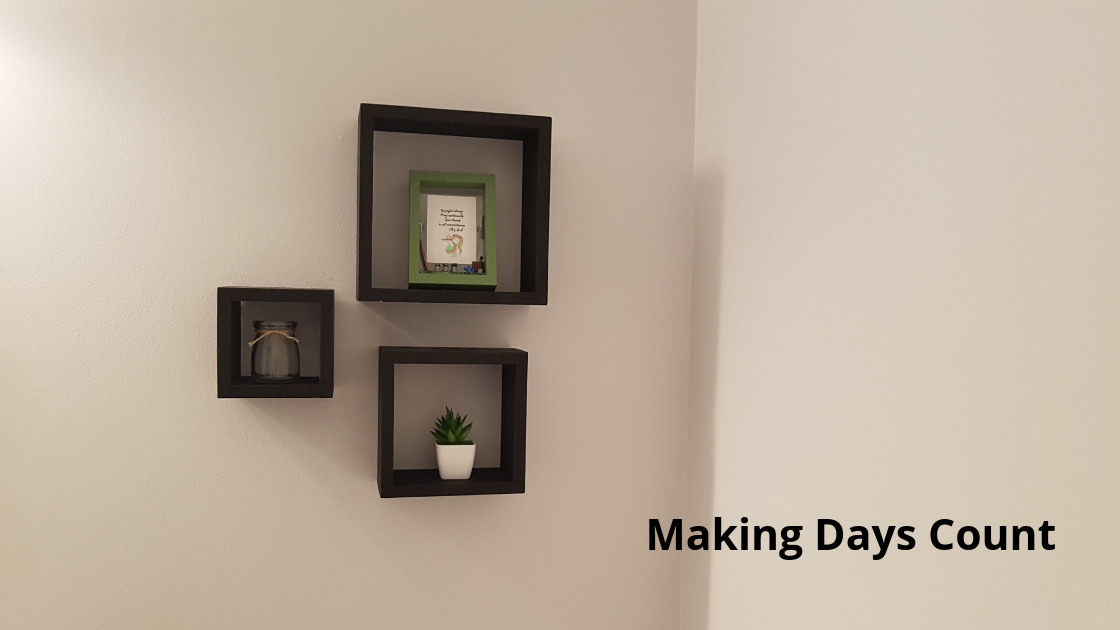
This floating box shelves were from the thrift store. I wrote about the transformation here at DIY Home Decor: Thrifted Floating Shelves. You can also find these shelves at Walmart and Target, and even Amazon.
Pin this for later!
Contents
Here is how I upgraded my bathroom with these floating box shelves:
BY CLICKING THE LINKS AND MAKING A PURCHASE, I MIGHT BE EARNING A SMALL COMMISSION AT NO ADDITIONAL COST TO YOU. PLEASE SEE OUR FULL DISCLOSURE FOR MORE DETAILS.
First, here are the items that you need:
- Box Shelves (Similar one here)
- Paper (I used old Christmas wrapping paper)
- Level Tool (I bought mine from the Dollar Tree, but you can get it online here)
- Pen or Pencil
- Measuring tape or ruler (similar one here)
- Painter’s Tape (Similar one here)
- Nail and Hammer
- Decor to add in the box shelves (My miniature plants are from Michaels and Oomomo, you can get similar ones here)
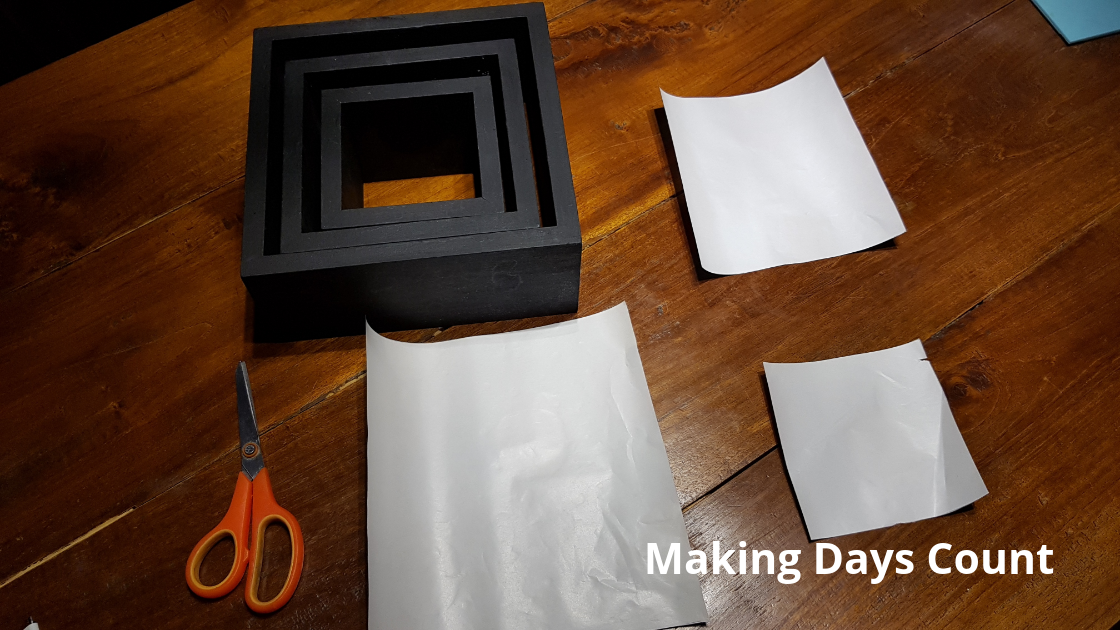
Second, lay the box shelves flat on the paper, draw the dimensions with your pen or pencil, and cut it out to size.
Place your paper on the floor and your box shelves above it. Using a pencil or pen, trace the outside of the box. Make sure that it is dark enough for you to see it when you cut it out.
I would suggest for you to draw each box separately and not within the bigger box. This will help you envision what your boxes will look like when you put them up on the wall.
Once you are done tracing the outside of the box, cut them out.
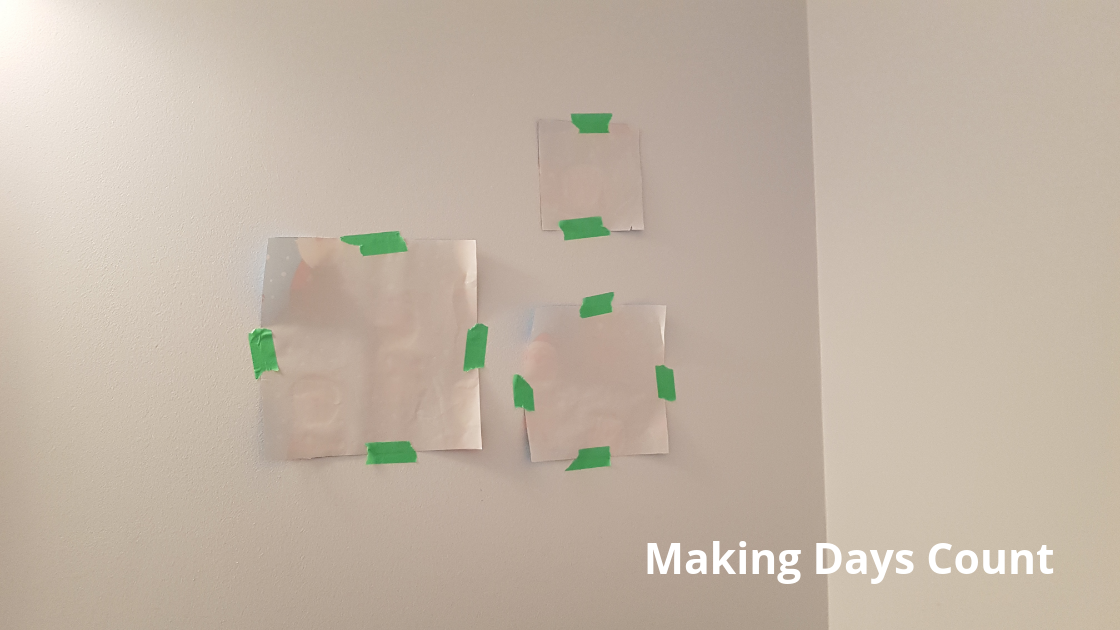
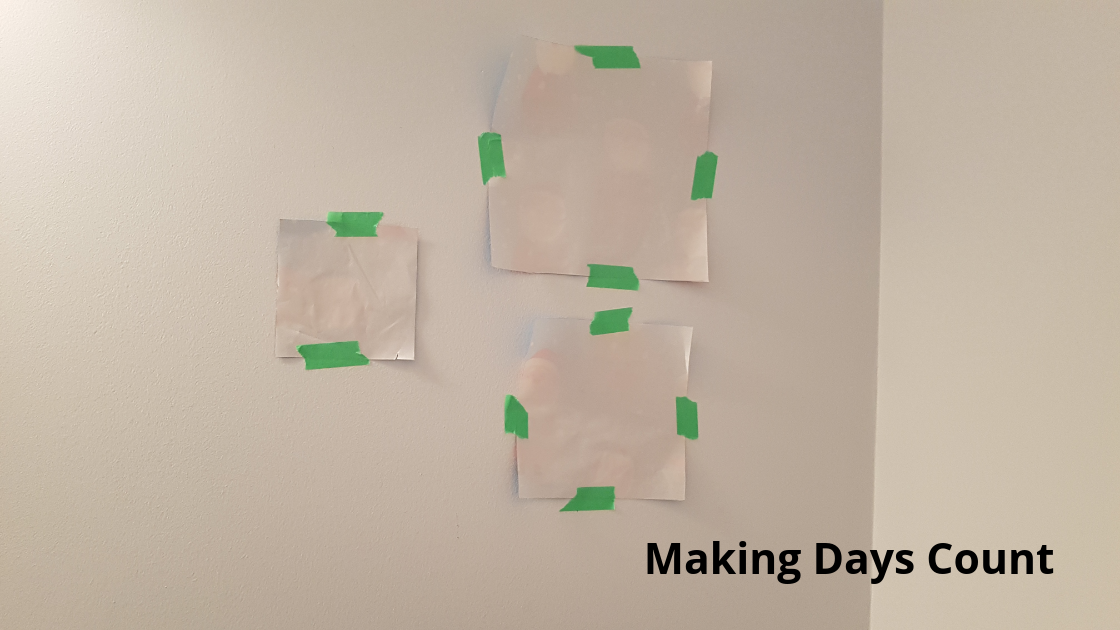
Third, tape your paper on the wall where you want it to be. Play around with the placement and adjust accordingly.
Take the painter’s tape and tape your paper on the wall you want to put your box shelves. Using this type of tape will allow you to remove it without affecting the paint.
I just placed them on the wall to see what I like best and played around with the height, the formations, and how close they are with each other.
Option 1:
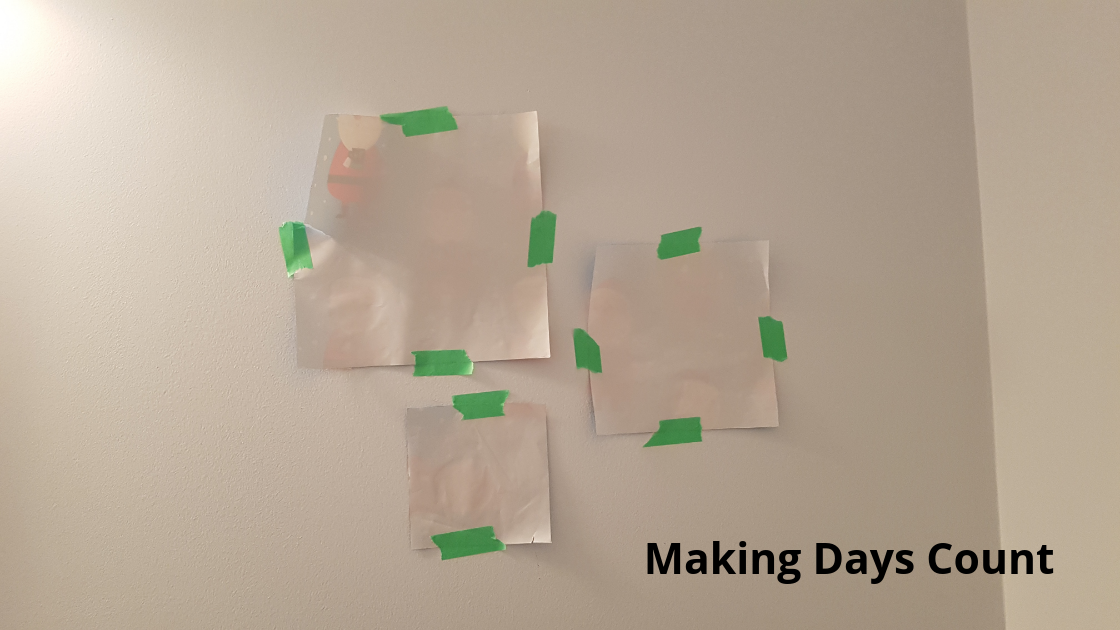
Option 2:
Last, but not least, option 3:
At the end, I decided to go with option 2. The others are nice to but I quite like this one as my bathroom decor.
Fourth, measure with your level tool to make sure that your papers are straight.
Once I am happy with the formation, height, and the other details of the boxes, I took out the level tool to check that the boxes are straight. I only measured the top line of each of the paper.
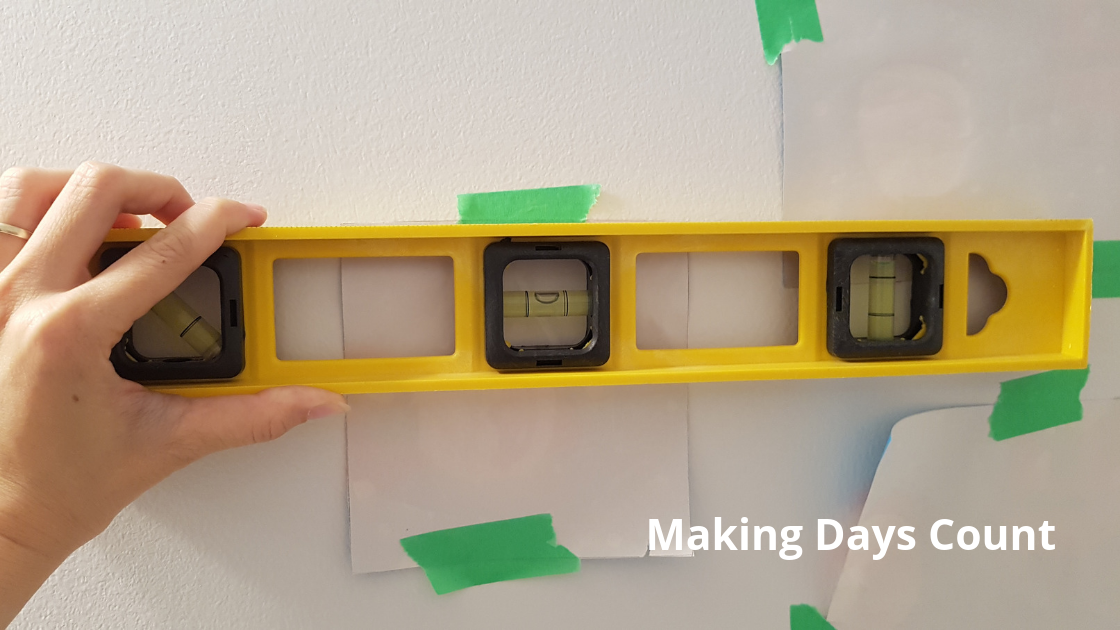
One of them was not straight so I adjusted it to make it level.
Fifth, measure where the holes behind the box shelves are and mark it on the paper on the wall
I took a measuring tape (you can also use a ruler) to measure the distance of the hole at the back of the box shelves. There were two measurements, one was from the top of the box, and the other from the side. This way, it would be accurate when I mark them on the paper taped to the wall.
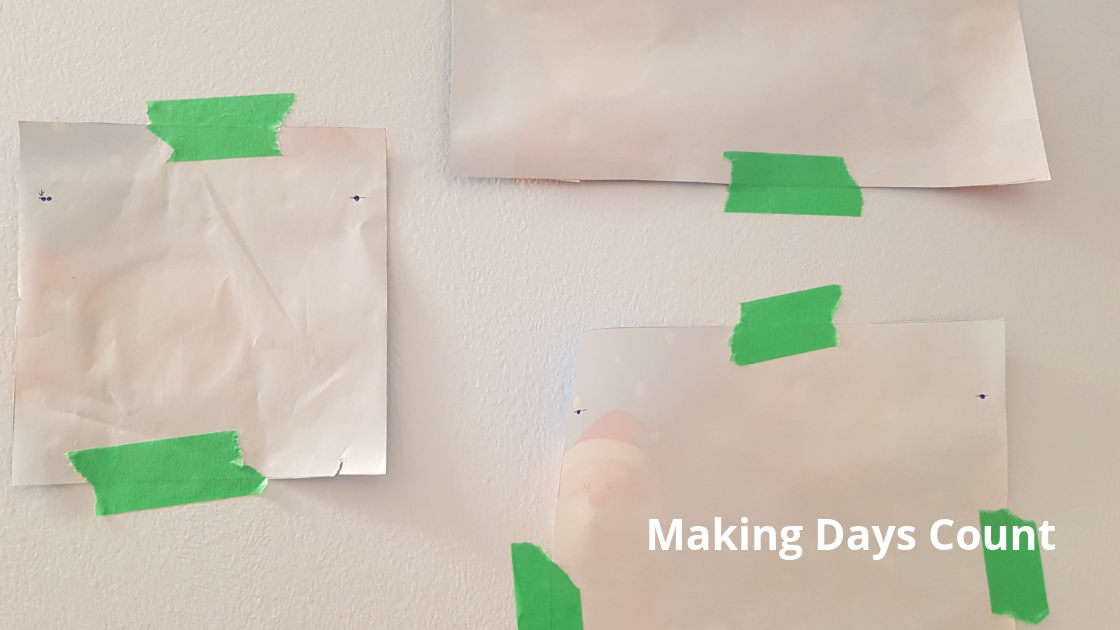
Do not take it for granted that each of the holes behind the boxes are the same. Measure and check it to make sure that you have the exact measurements. It is always safe to double and triple check these measurements.
Sixth, check to make sure that the holes are aligned and straight with your level tool
Similarly to step four, check your markings with the level tool to ensure that the holes are leveled as well. This will be really important when you’re putting in the nails. They need to be straight.
Finally, nail where you marked down and hang your box shelves.
The final and probably most important step is to nail (in our case, we used screws and anchors as the nail hooks could not hold them up due to a weird angle) where you marked and hang up your shelves. Your bathroom decor is now complete. Just add whatever trinkets you have or buy to the shelves and you are done. Two of the items we displayed were gifts so I only spent $2 for the little succulent at a Daiso store near us.
Thank you for reading and going through this tutorial with me. I hope this helps you in hanging your own shelves. Enjoy your affordable upgrade with your bathroom decor.
If you are interested in other DIY Projects, please check the following blog posts:
- DIY WiFi Password Sign
- DIY Home Decor: Thrifted Floating Shelves
- Easy DIY Clothing Organization Label
If you like what you read, please pin the image below and share it with others. Thanks so much!
Leave a Reply