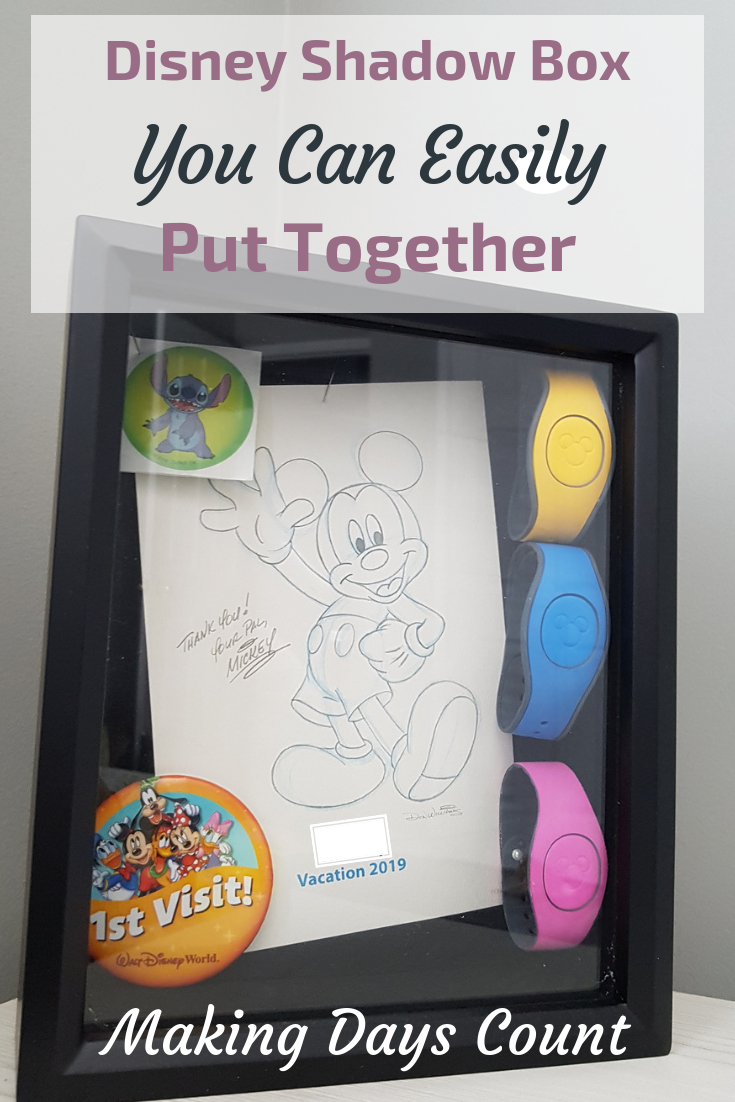
Now that you have returned from the Happiest Place on Earth, Walt Disney World, it is time to box those memories up with your own Disney Shadow Box.
I know, it’s so sad that it is over. That is how we felt too when we came home.
There were so many wonderful memories of going on different rides and meeting the characters. Now how do we keep remembering them as the vacation is over?
Make your own Disney Shadow Box.
It will be a good time to take out all of the items that you have collected or purchased during your Disney trip and put them in a box for display somewhere in your home or room.
I will be sharing with you a quick guide on how I put together my simple Disney Shadow Box that anyone can easily do.
Before I continue, please know that this blog post is a part of my Disney series when I share my experience from beginning to the end.
If you would like to catch up on my Disney series, check these out:
- How to plan a last minute Disney vacation
- Dollar Tree items to buy before you go to Walt Disney World
- DIY Mickey Ears Cap: Avengers Inspired
- DIY Mickey Ears Headband: Floral Edition
- Walt Disney World All-Star Sports Resort Review
- Visiting Disney World’s Magic Kingdom with a baby
- Be Our Guest Restaurant Review
- Ohana Restaurant Review at Walt Disney World
- Visiting Disney World’s Epcot with a baby
- Sanaa Restaurant Review at Animal Kingdom Lodge
- Visiting Disney World’s Animal Kingdom with a baby
- Rookie’s Guide to Disney World Magic Bands
- Disney World Fastpass: A No-nonsense Guide
- Free Disney Non-Park Things to Do
- Disney Magical Express: A Review
- Disney Shadow Box: A 10 Minute Guide (This post)
Pin this for later!
Contents
Here is how to put your Disney Shadow Box together under 10 minutes (unless you have a lot!)
BY CLICKING THE LINKS AND MAKING A PURCHASE, I MIGHT BE EARNING A SMALL COMMISSION AT NO ADDITIONAL COST TO YOU. PLEASE SEE OUR FULL DISCLOSURE FOR MORE DETAILS.
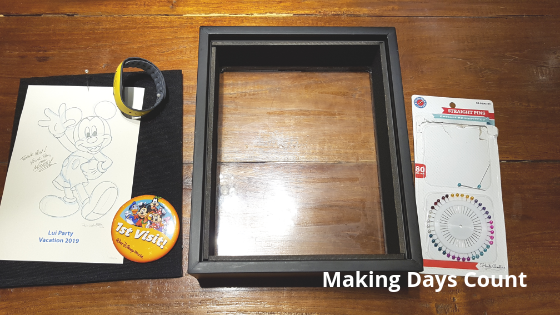
What you need:
- A Shadow Box (I got mine from Michaels, but you can get yours online here)
- Your Disney collection
- Pins from the dollar store
My Disney Shadow Box is not a big one, but that is okay. It will limit me in what I can choose to put into the shadow box and overall has a minimalist yet put together look.
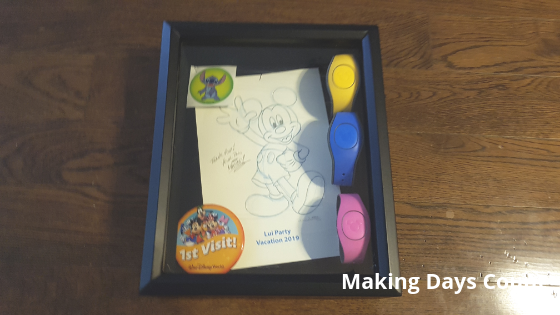
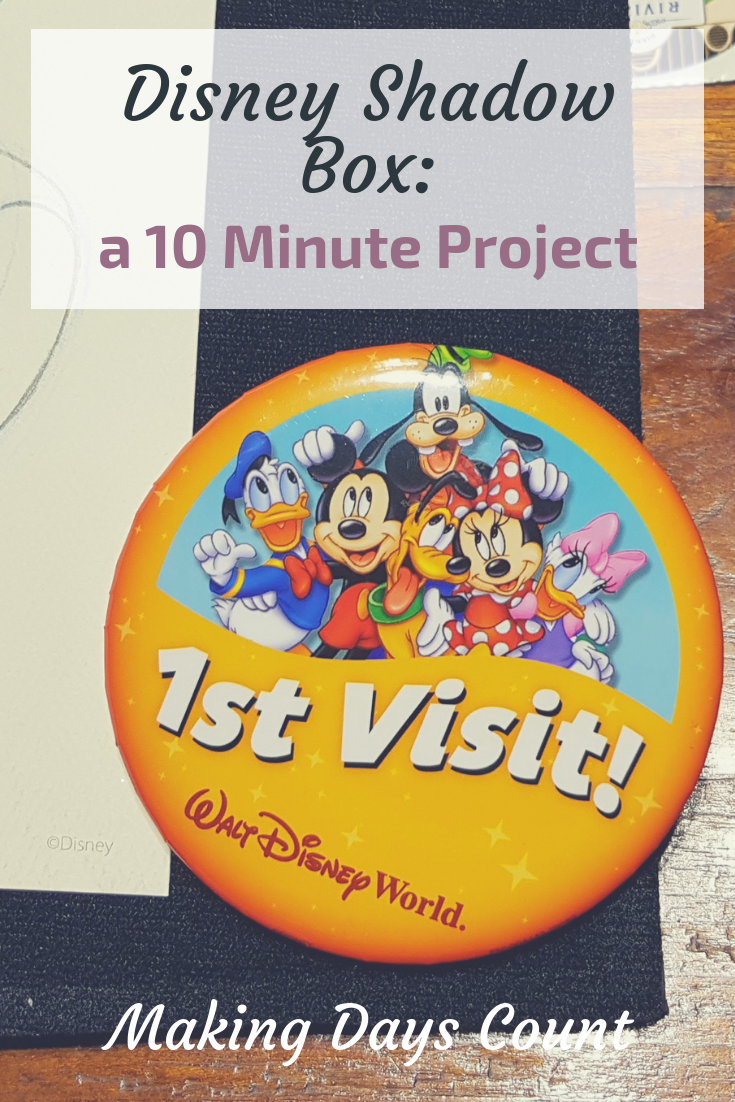
In my Disney collection, I am including 3 magic bands, a sticker, a drawing of Mickey that we received in the mail upon our return from our trip, and a First Time Visit button. You may have more to add to your Disney Shadow Box so it might be a good idea to get a bigger one.
Tip: Choose small items or flat items to put into your shadow box. If you have bigger or bulkier items and want to put them a shadow box, I would suggest buying those cube shaped shadow boxes (I have seen them at Michaels).
First, chose the biggest item to put in the Disney shadow box.
As you can see, my biggest item is the Mickey Mouse drawing. I placed it in the center and pin it down. This way, I can see how much room I have left for the other items and can arrange them to fit well.
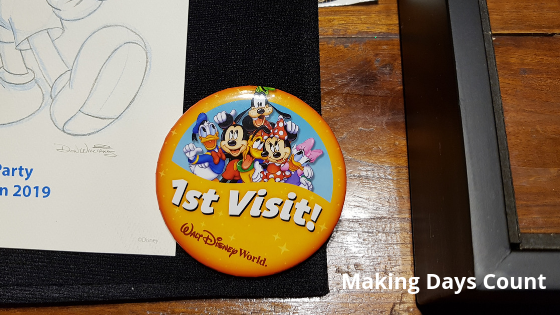
Second, tackle the next hardest item: the First Visit Pin.
It is not an easy task to try and pin down the pin (pun not intended). Slowly but surely, I was able to pin down the pin. The trick is to go at it from an angle and weave it through the foam portion of the shadow box.
Next, put the rest of the items on the shadow box.
Unfortunately, the magic bands did not all fit. So I had to remove the 1st visit pin and rearrange it. The fun part about putting Shadow Boxes together is that you can arrange and rearrange items until they fit where you want them to.
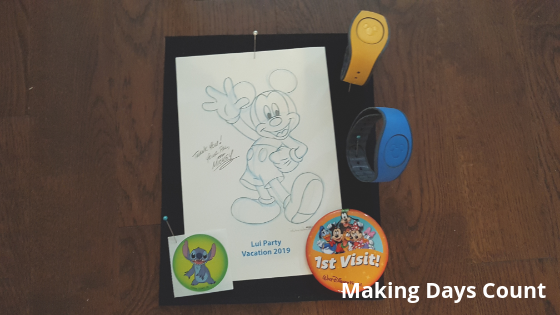
I placed the Magic Bands on the right side and the pin and sticker we got from a Cast Member while waiting in line at Magic Kingdom for pictures with Tinkerbell.
In order for the Magic Bands to stay put, I had to pin them at an angle from top to bottom. Also, the tight space of the shadow box helped held them together.
Once I was happy with the arrangement, I closed the shadow box.
Finally, display your Disney Shadow Box.
It was such a fun project to remember your trip to Walt Disney World and it makes you look forward to your next trip. Please tag me on Instagram at @makingdayscount if you have put together your Disney Shadow Box. I would love to see them.
Thank you so much for reading and walking through this project with me. If you are interested in my other Disney posts, please check them out here:
- How to plan a last minute Disney vacation
- Dollar Tree items to buy before you go to Walt Disney World
- DIY Mickey Ears Cap: Avengers Inspired
- DIY Mickey Ears Headband: Floral Edition
- Walt Disney World All-Star Sports Resort Review
- Visiting Disney World’s Magic Kingdom with a baby
- Be Our Guest Restaurant Review
- Ohana Restaurant Review at Walt Disney World
- Visiting Disney World’s Epcot with a baby
- Sanaa Restaurant Review at Animal Kingdom Lodge
- Visiting Disney World’s Animal Kingdom with a baby
- Rookie’s Guide to Disney World Magic Bands
- Disney World Fastpass: A No-nonsense Guide
- Free Disney Non-Park Things to Do
- Disney Magical Express: A Review
- Disney Shadow Box: A 10 Minute Guide (This post)
If you like what you read, please pin the image below and share with others. I truly appreciate it.
Leave a Reply