Having that custom decorative art piece or photograph hanging on your wall does not have to be expensive. I’ll share with you 3 DIY art hacks you can do with your framing on a budget.
No fancy tools or experience are necessary.
We all love for our homes to be beautiful and nicely decorated. With a little research and some creativity, we can do it!
In today’s blog post, I’ll be sharing ways that you can use IKEA frames (not sponsored, but we use them to stay on budget) to create that custom, luxurious look.
Pin this for later!

Contents
Here are 3 ways you can elevate your decoration with these framing hacks:
BY CLICKING THE LINKS AND MAKING A PURCHASE, I MIGHT BE EARNING A SMALL COMMISSION AT NO ADDITIONAL COST TO YOU. PLEASE SEE OUR FULL DISCLOSURE FOR MORE DETAILS.
1. Buy Pre-cut Mat Board from the Craft Store
A quick way to get the customized framing look with your picture or art piece is to buy a pre- cut mat board.
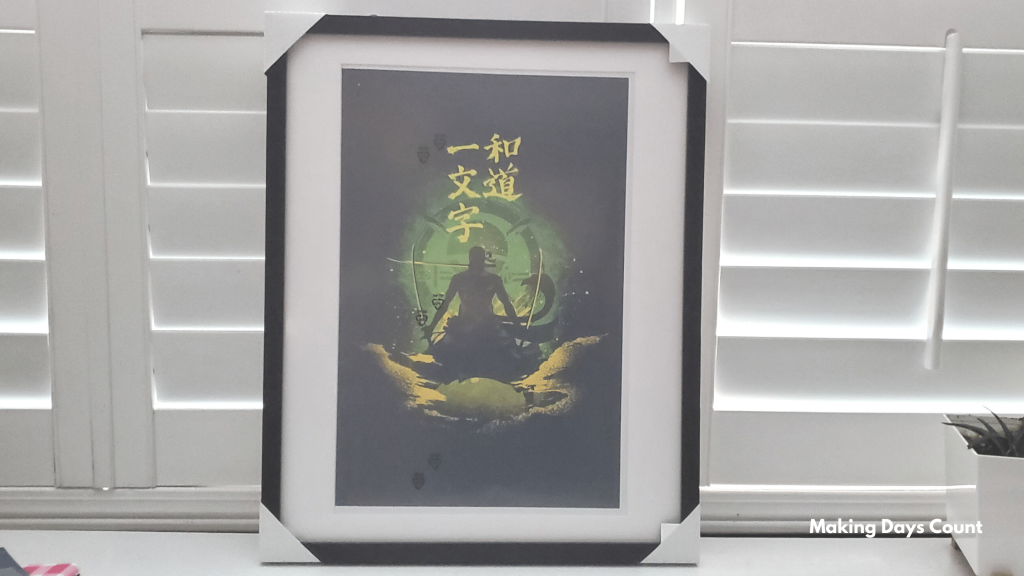
Last year, my sister requested for a printable poster from Etsy for Christmas and wanted me to frame it as well.
The size she wanted was 12″ x 18″.
However, I was not able to find the exact size of frame on a budget. So, I turned to IKEA and found a slightly larger picture frame which was 16″ x 20″.
As you may not know, the mat board inside the IKEA frame is not 12″ x 18″. Using that mat board will look odd with this poster print.
I looked online and found that Michaels sell these pre-cut mat boards. One of them perfectly fits what I needed.
The outer measurement is 16″ x 20″ while the inner measurement is 12″ x 18″.
It was perfect and on a budget.
If you are considering to frame your poster, I highly recommend this route if possible. Find a frame at IKEA or another budget friendly store and hopefully get a pre-cut mat board to fit what you need.
However, if you cannot find the size that you need, don’t worry, I have two other DIY Art hacks for you.
2. Measure Your Art or Photo before getting a personalized mat board
If you have an odd size art, picture, or drawing, this framing hack is for you.
My husband, M, has a picture he drew when he was in elementary/ grade school. He kept it all these years and his mother promised that she would frame it.
Life got busy, and then we met.
I am a sentimental person so I wanted to keep that drawing. When we moved into our house, I thought that it would be nice to hang it up as memory of his childhood and creativity.
Here are the steps that I took (summarized):
- Measure the paper of the drawing
- Find a frame that can fit the drawing
- Buy a mat board from Michaels and get it custom cut to my dimensions
- Put the drawing in the frame and secure
- Hang the frame up and enjoy
Due to the custom size of the drawing, I had to find a frame that is bigger both length and width.
I found this RIBBA frame in IKEA. They have a number of affordable frames that look really nice.
The challenge was to figure out how to make the drawing look like it was made to fit in the frame.
Again, the mat board was the answer.
I headed to Michaels to get a custom mat. Little did I know that to get a custom mat was more expensive than I thought ($40?).
The Michaels associate offered me another solution. Since my frame was not too big, I could buy a mat board and she can cut it to the size I needed.
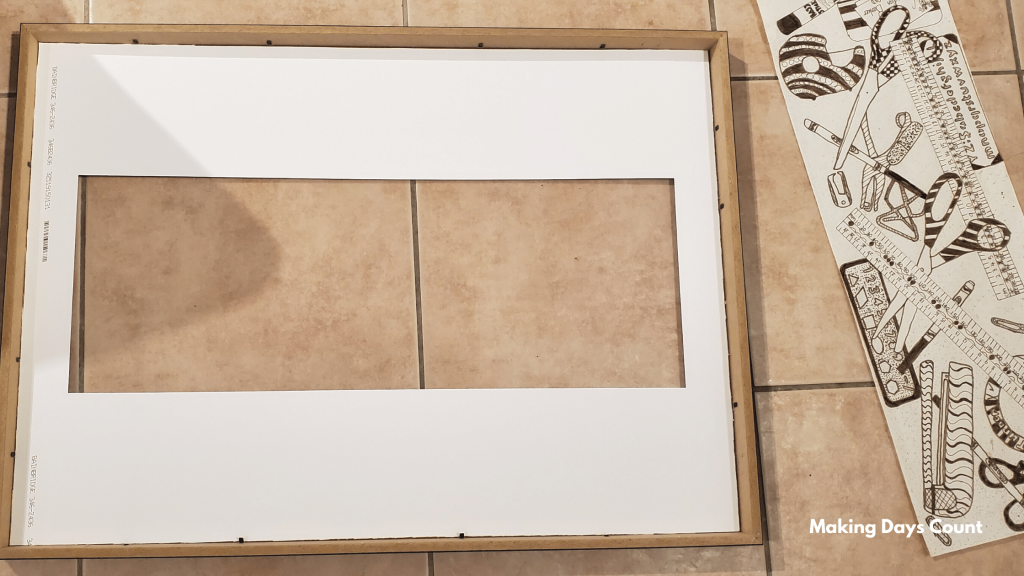
With the cutting fees and buying the mat board (with coupon of course), it was half the price of getting it fully customized.
After bringing the mat board home, I put my husband’s drawing along with the mat board in the frame.
I was very happy with the results.
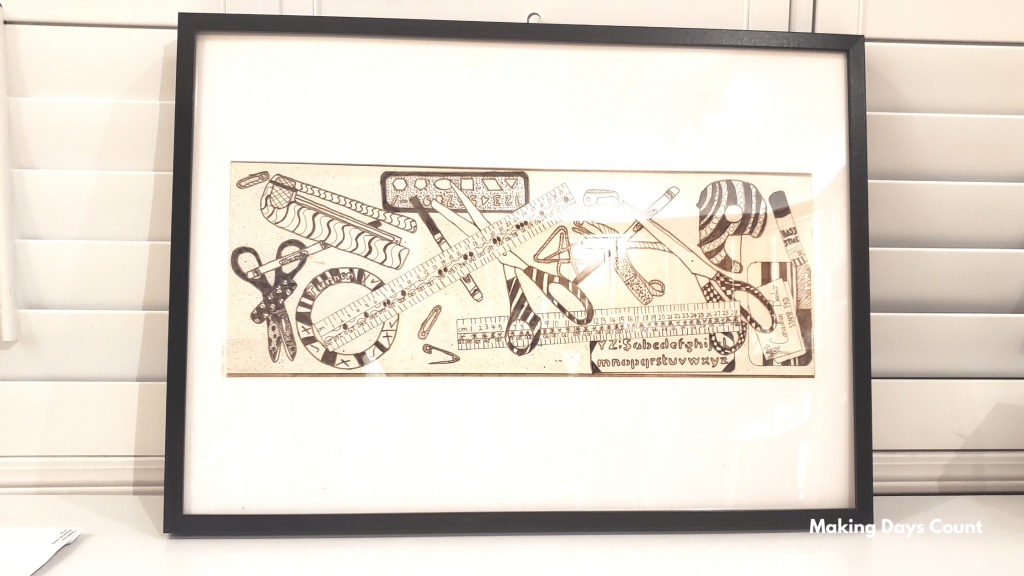
What do you think?
The next framing tip is to help you if you have a frame, but want a customized picture look.
3. Print your art piece to fit the frame you have
If you have a picture frame that you previously bought and you want a custom look, this DIY Art hack is for you.
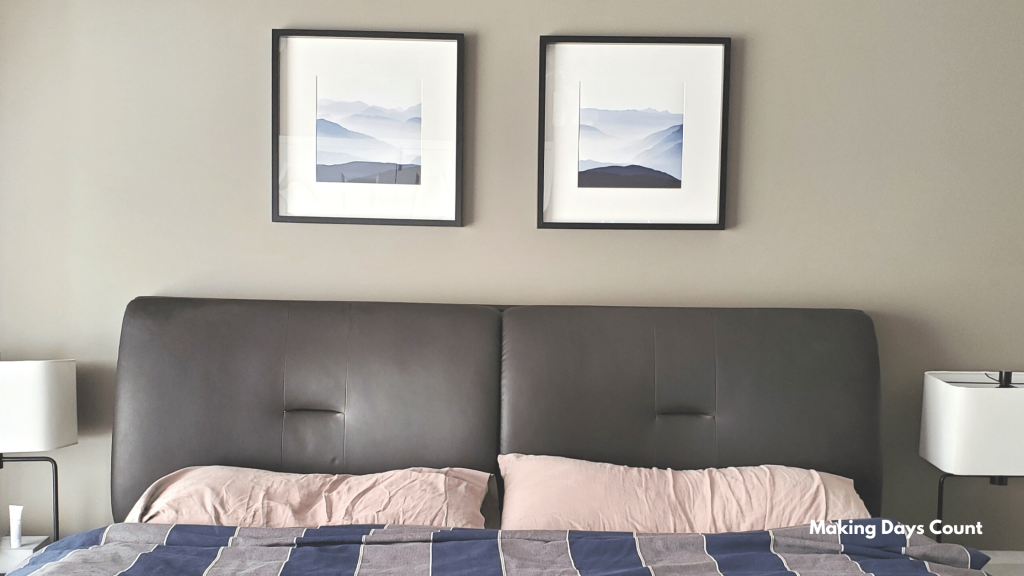
I bought these IKEA square frames for $10 each and knew that I wanted to use them in my bedroom.
However, I wanted to have that custom, peaceful mountain art piece feeling to elevate my space. So, I went to Etsy and found this art print (this one was my second choice).
Since my frame was square and my choice of art was not, I decided to print it out to fit the width (around 11″) and adjust accordingly.
Here are the steps I took (summarized):
- Buy the frames to fit my space and style
- Choose an art print on Etsy or you can use your own photograph
- Print my art piece to fit my frame
- Adjust and tape down my art print on the mat board
- Hang them up and enjoy
A quick tip I learned is that you want to hang your picture frames between 8 to 12 inches above your bed or furniture. This way it’ll make them feel connected and not just separate pieces floating on the wall.
Since the art prints come in different sizes, it is easy to print them according to your own needs.
Hope you enjoyed reading these the DIY framing tips and can use them to create that custom look you would like for your home.
Related:
- DIY Anthropologie Inspired Living Room Decor
- Tips on How To Decorate Your Home on a Tight Budget
- IKEA Hack: Latt Kids Table Makeover
Thank you so much for reading my blog post on “DIY Art Hacks: 3 Framing Ideas on a Budget”. Be sure to check out my free printables page here. If you like what you read, please pin the image below and share it with others. Thanks!
Leave a Reply