Contents
DIY Paint Chips Calendar
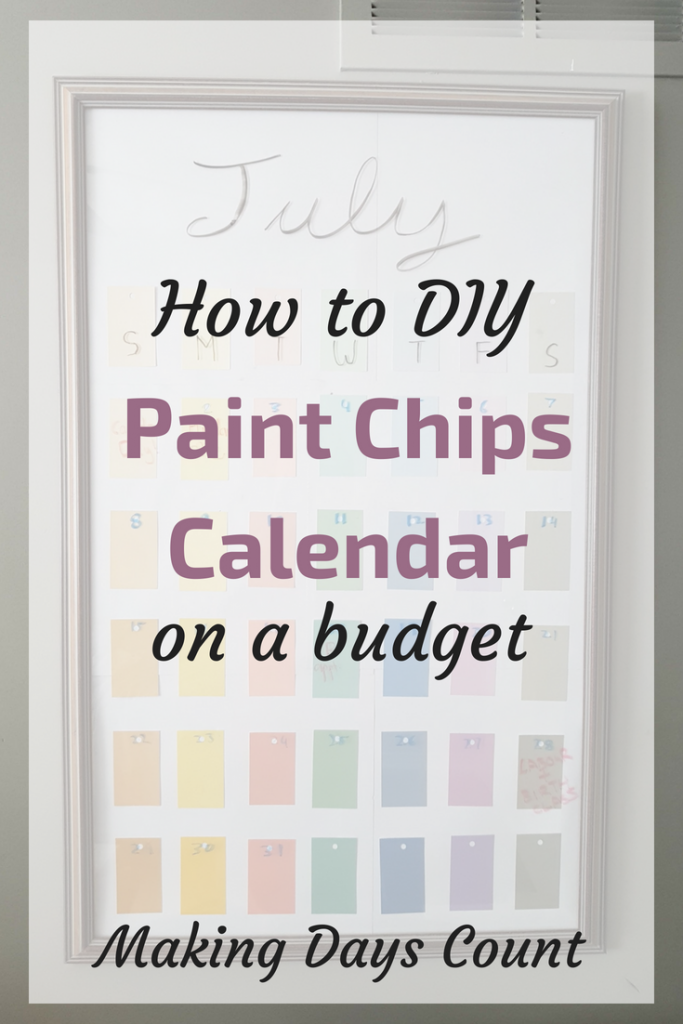
You know how you browse Pinterest and think to yourself, I can make this myself. This is exactly that kind of story and I will walk you through so you too can make this DIY Paint Chips Calendar easily.
We were in the process of designing our home office/guest room and I was browsing on Pinterest. I saw a calendar made out of paint chips and I wanted to create the same for us.
We are visual people so it’ll help to have that right in our faces.
BY CLICKING THE LINKS AND MAKING A PURCHASE, I MIGHT BE EARNING A SMALL COMMISSION AT NO ADDITIONAL COST TO YOU. PLEASE SEE OUR FULL DISCLOSURE FOR MORE DETAILS.
Here is what I need:
- A large frame (I got mine from a garage sale)
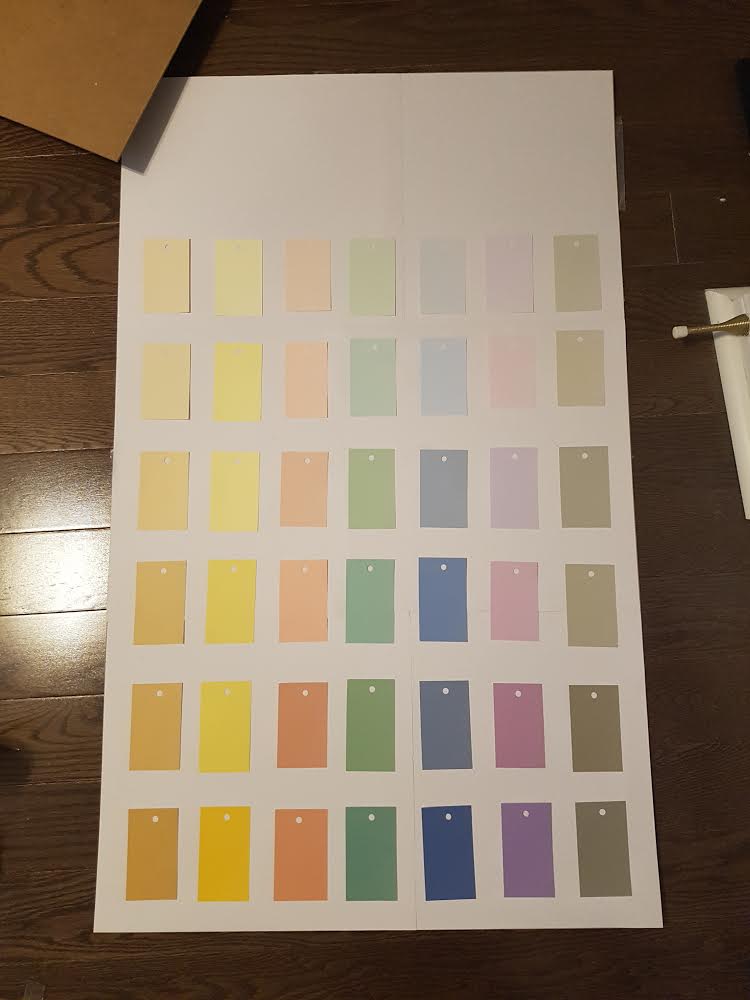
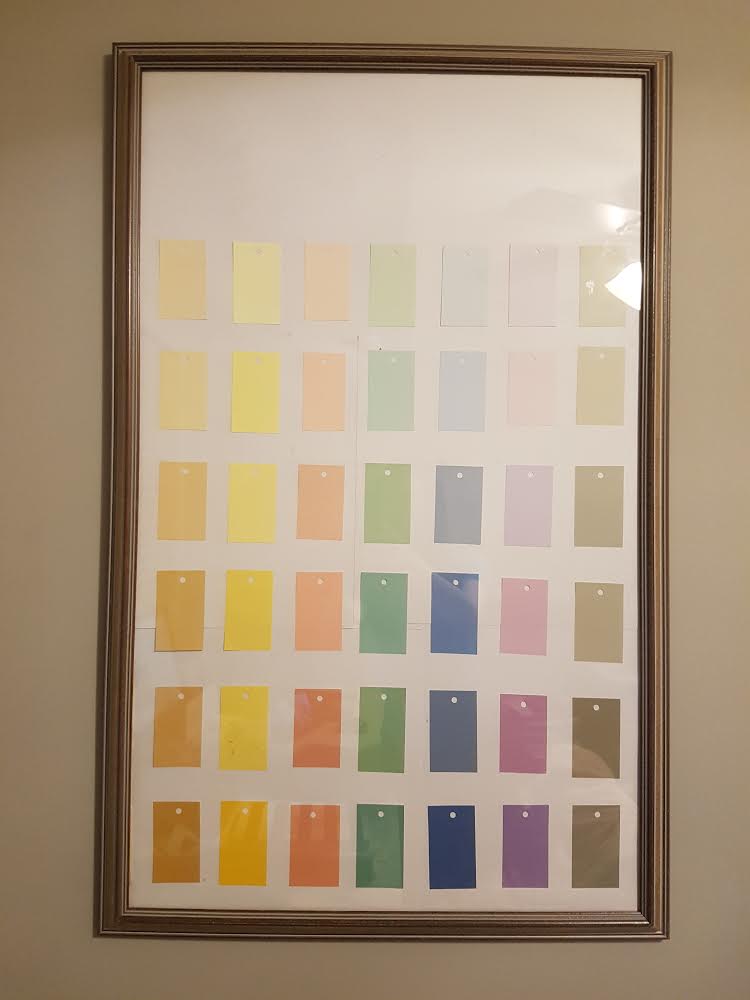
- 7 columns and 5 rows = 35 colours
- Hole Puncher
- Scissors or Wood Cutter (You can get a good quality paper cutter on Amazon [Affiliate])
- Glue or tape
Don’t forget that you need to get dry erase markers to write on them.
Side note: I used the regular markers and it did not come off. Solution: Use nail polish remover
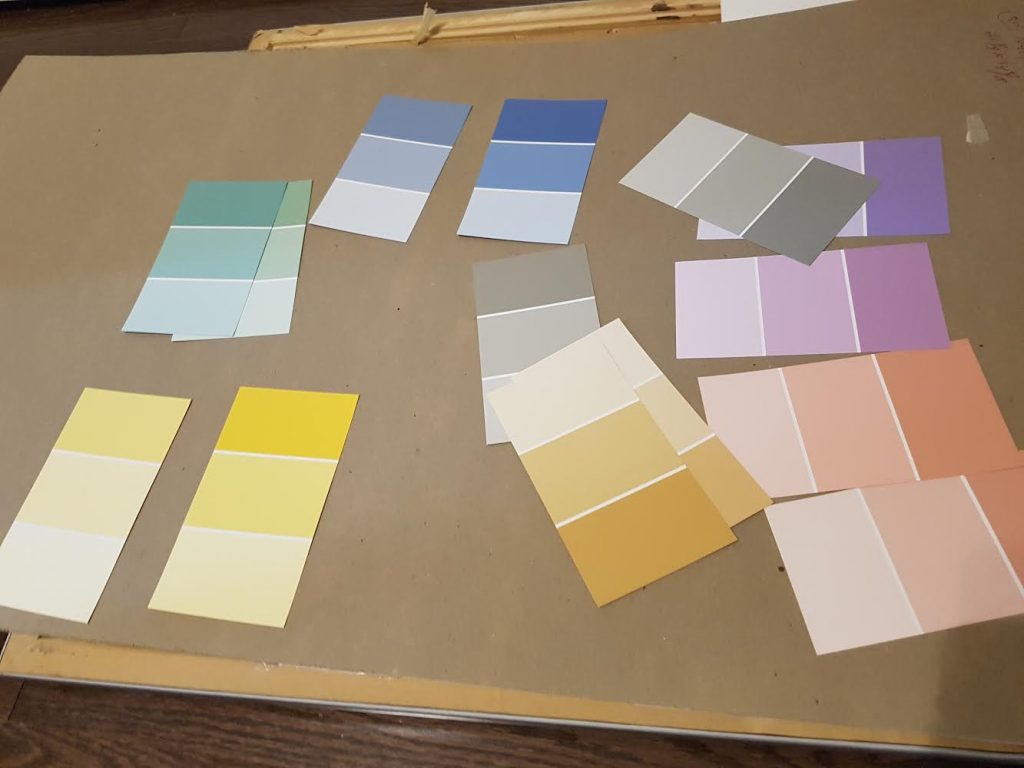
We head to our closest Home Depot for these paint chips. Unfortunately, they only have the small ones and not long enough to make into a calendar. We found these ones at Rona (not sure if this is just a Canadian store).
Let’s begin:
First, I cut out the labels and the paint colour name on each side using my woodcutter (You can get a good quality paper cutter on Amazon [Affiliate]).
Try to make each the same size
Next, I cut out the individual pieces.
Third, I lined them up on how I want them to look. I like the light to dark sequence. You can choose to arrange them based on how you like.
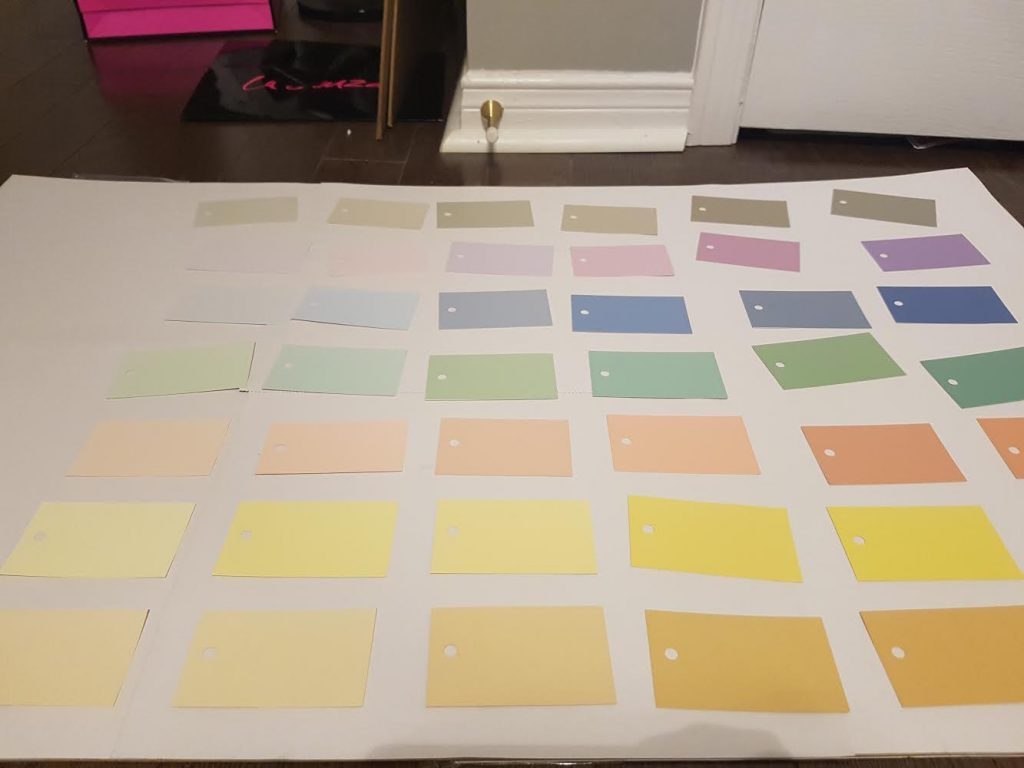
Next, I hole-punch them. You just need to punch a hole in the middle at the top of each paint chip (see picture above).
Then, glue or tape them on the board before inserting into the frame.
Finally, hang it up and use a dry erase marker to start writing in your calendar.
If you do make one, please tag me on Instagram at @makingdayscount.
Leave a Reply