As parents, we want the best for our baby. Especially with our first kid, we do a ton of research on what is the best and latest item that is a must-have for our little one. A baby carrier, the ErgoBaby 360 carrier was one of the baby items we did a ton of research on.
I knew that it was a bit of an investment, but vowed to use it often. Now that we had it for a while, it’s definitely worth it. We brought on our trip to Disney and used it everywhere we can (if we remember).
Before we continue, please feel free to check other baby related posts after reading this post:
Pin this for later!
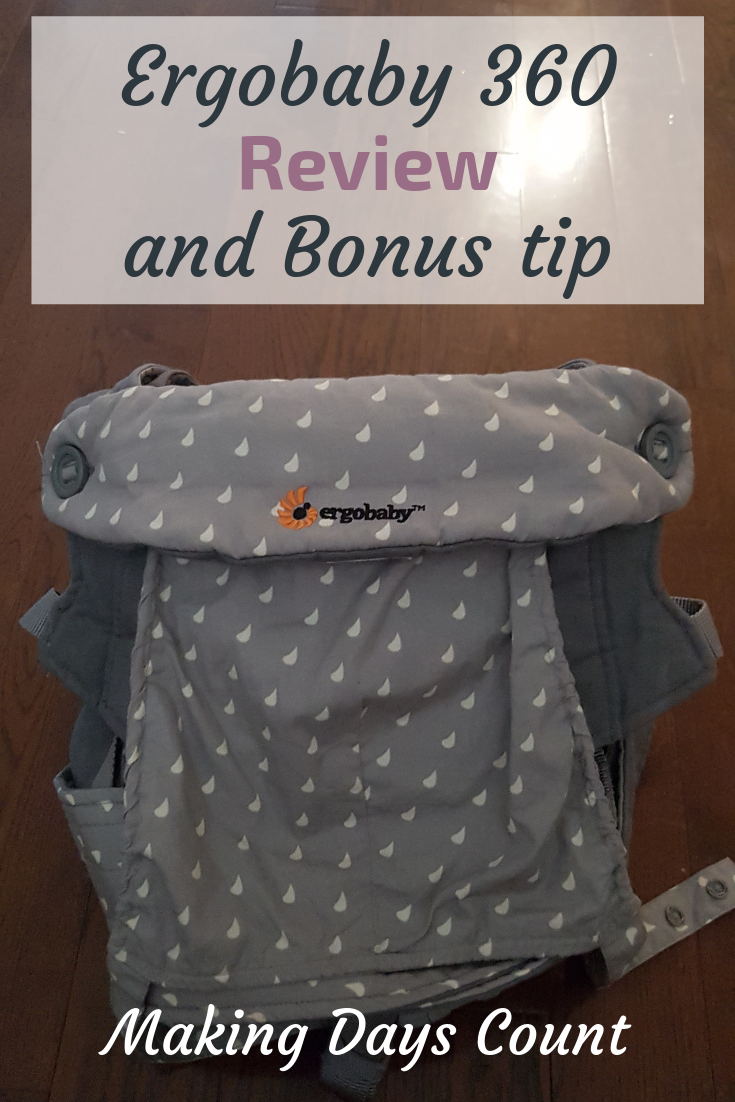
Let’s get into my review of the Ergobaby 360 and also a quick tutorial on how to fold it back to compact size.
Contents
Here is my review on the Ergobaby 360:
BY CLICKING THE LINKS AND MAKING A PURCHASE, I MIGHT BE EARNING A SMALL COMMISSION AT NO ADDITIONAL COST TO YOU. PLEASE SEE OUR FULL DISCLOSURE FOR MORE DETAILS.
What I like:
One: The functionality works well
The purpose of a baby carrier such as the Ergobaby 360 is to carry the baby comfortably. What I find with this baby carrier is that it gets better as Baby K gets older. I have a different carrier that is more bamboo cloth based and that suited her when she was younger, but the Ergobaby 360 is pretty sturdy for her after she turned 5 months old.
Baby K seems to enjoy being close to me and yet look at her surroundings. This way I can put her in the carrier and walk around to do what I need to do. Also, when I go to the park with her, she can enjoy people watching and sitting on the swing strapped onto me.

I also read somewhere online that the Ergobaby is great for a baby’s legs posture and it supports the hip. Though I am not an expert on these things, it is comforting to know that I am putting my baby in the best position for the baby carrier.
Two: The design is pretty and comfortable
This grey one that we bought online is so pretty. It is not just a standard black or beige one. You can choose what colour suits you best. It worked out for us because the grey one was on sale and in stock.
Also, the padding on the shoulder straps is pretty comfortable. Whenever I put the straps on, it does not feel that I am putting too much weight on my shoulder and back. You can adjust the straps and length to fit your body.
In terms of the design and comfort, I really like the Ergobaby 360 and Baby K seems to be comfortable sitting in it.
Three: Flexibility is really convenient
The Ergobaby 360 says that you can wear your baby in different ways either front, back, or side. I have only tried the front where Baby K faces me or faces away from me. Both work well and she seems to be comfortable.
I think when she gets a little older, we would try carrying her on our backs. I like that there is that flexibility, though I might want to encourage her to walk by herself instead of us carrying her.
It is a feature that is great if we need in the future.
What I do not like:
One: It can feel bulky (but not for long)
When we take off the carrier, it can seem really bulky. I was trying to figure out how to put the Ergobaby 360 back into the box and could not figure it out at first.
It just looks like it has a lot of parts to pack away. However, I figure it out how I can fold it compactly. Please see the tutorial below.
Two: Baby K drools on the shoulder strap
I am not sure if this can be considered as a fault of the baby carrier, but I realized that she drools on or bites on the shoulder straps. Amazon actually has a solution for that where you can buy a drool and teething pad for your carrier.
We do need to wash the Ergobaby 360 more often because of her drool, but the drool pad would definitely come in handy.
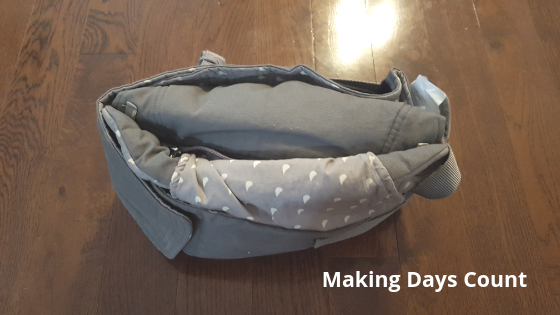
Now for the quick tutorial on how to quickly pack your Ergobaby 360 carrier. When I am done with the folding, it is about 14″ x 5″ in size.
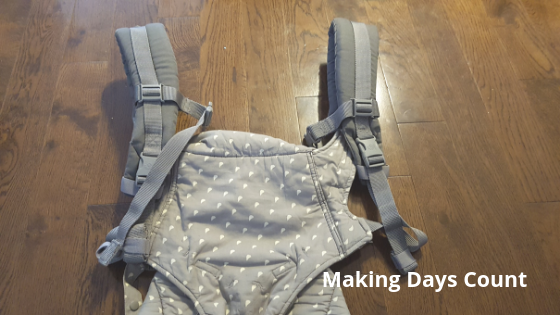
How to pack it to a smaller size when not in use: (Pictures only)
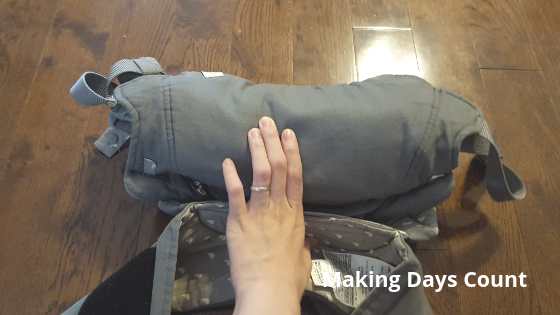
One: Turn the carrier and face it towards the ground or flat surface
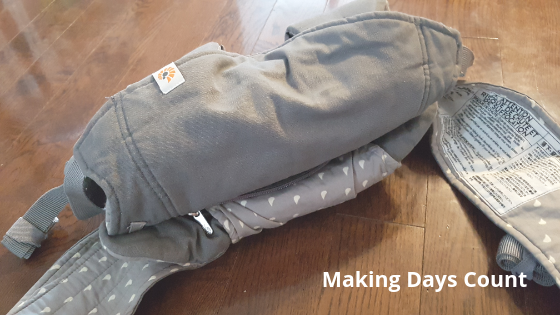
Two: Fold up the shoulder straps
Three: Fold the straps together
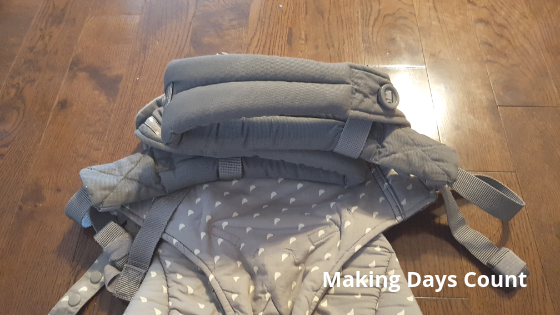
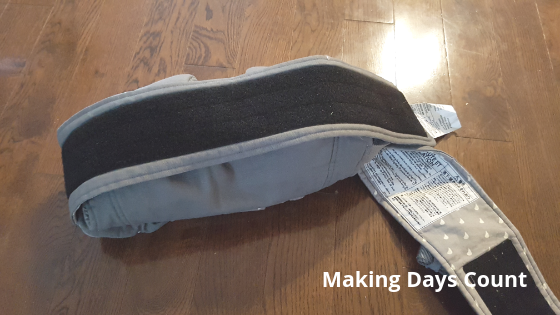
Four: Roll the straps and middle part downwards
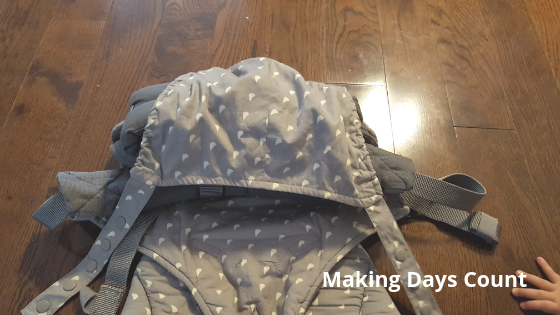
Five: Roll partially on the bottom hip support straps
Six: Wrap the loop (softer side) around the carrier
Seven: Wrap the hook (rougher side) around the carrier and secure to the loop
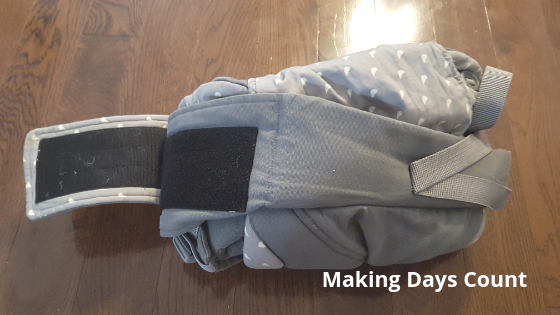
Eight: Pack your baby carrier away
Thanks for reading. If you like to read more about our adventures with Baby K, please see the following posts below:
- Toys My 9-month-old baby love
- Baby’s First Flight: 8 Mistakes To Avoid
- 20 Budget Summer Activities You Must Try with Your Baby
If you like what you read, please pin the image below and share it with others. Thanks so much for stopping by.
Leave a Reply