Raise your hands if you have a craft closet! Or, a linen closet that you (I mean me) took over to become a craft closet? It can be so hard to keep all the crafts and the supplies in one place, but it can be done. I’ll share my process of how to organize a craft closet in this blog post.
A little bit of background:
When we moved into this house, we have a linen closet but we don’t really have a lot of linens. So, I decided to put some of my craft supplies in this closet.
Slowly but surely, it became a craft closet.
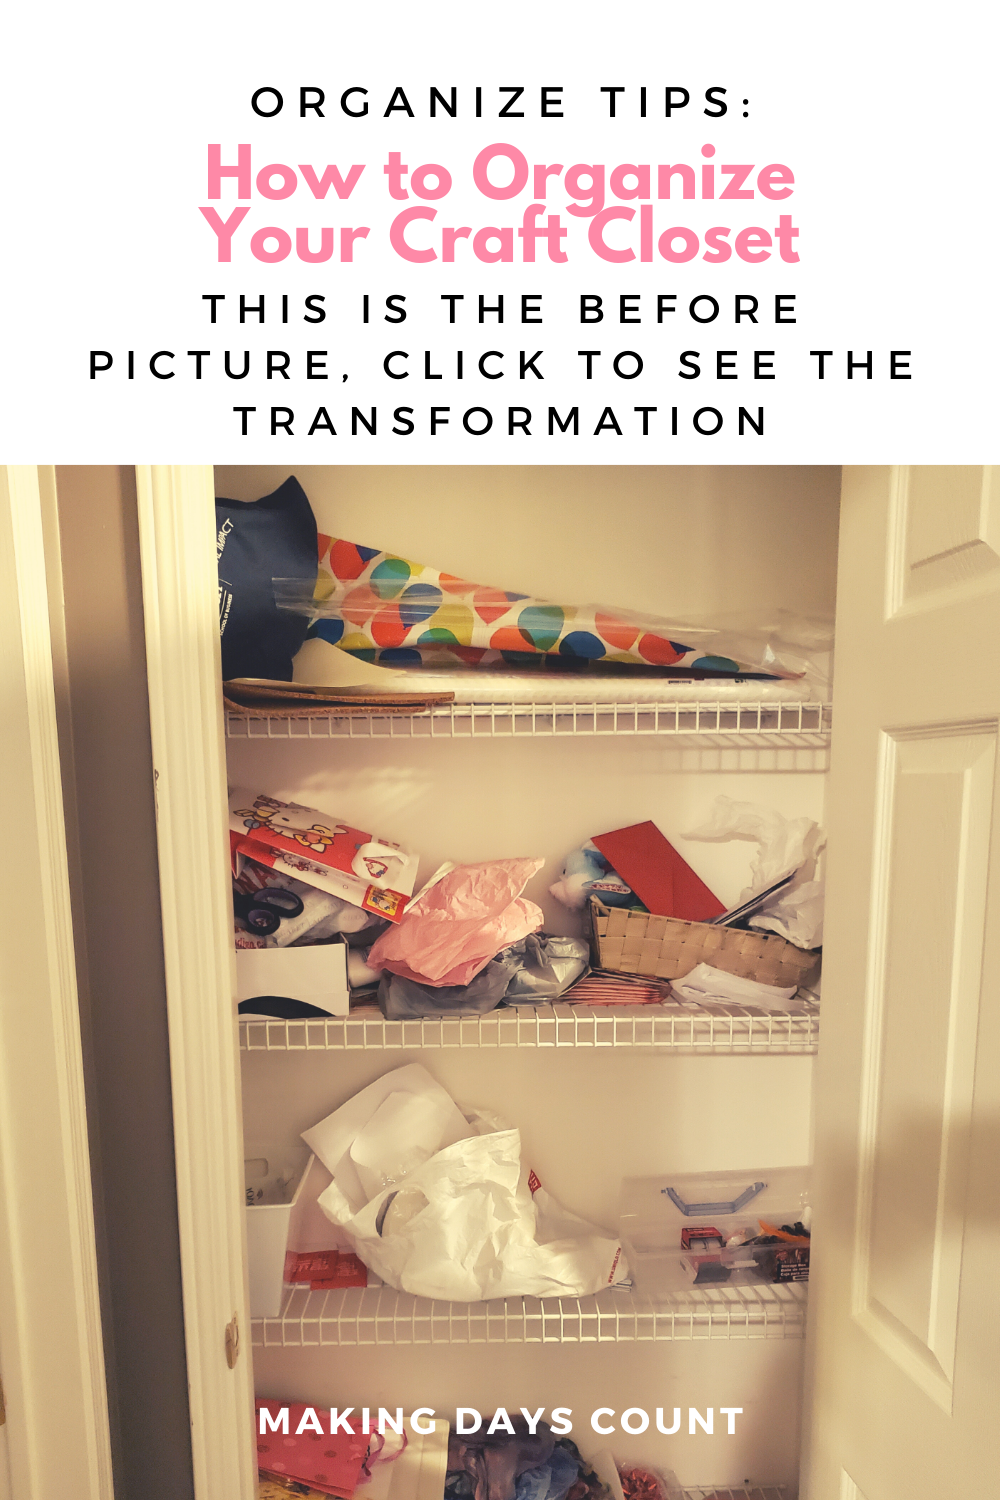
It was not organized at all. Please see the before picture.
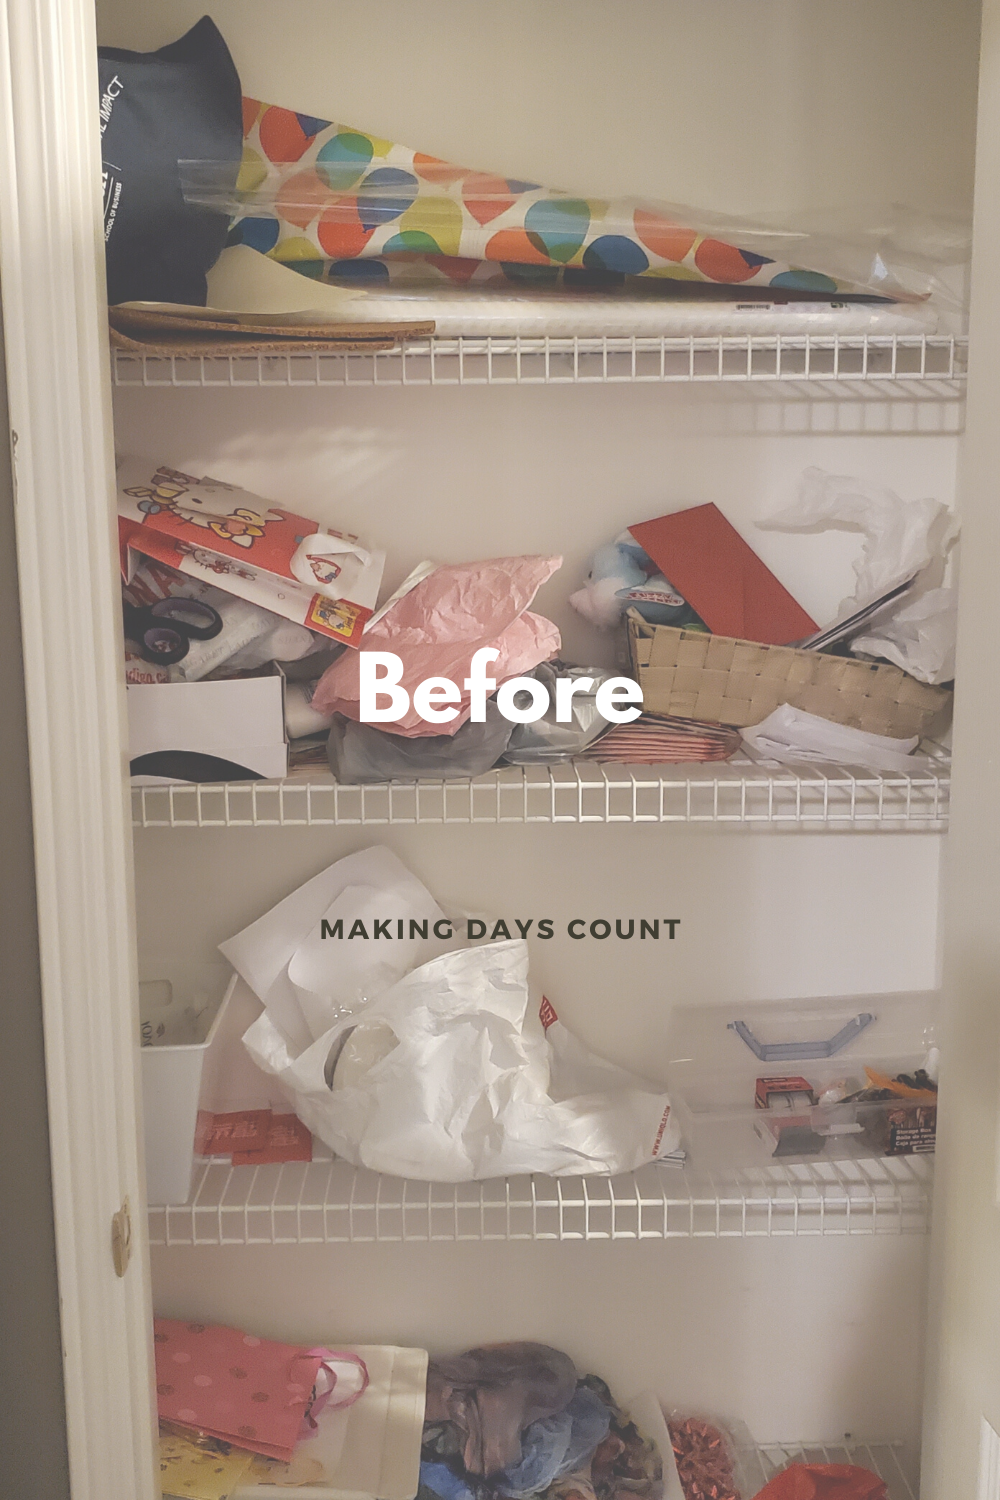
It’s pretty awful. There are stuff everywhere that I wanted to deal with later, but never got around to. It was more like a junk closet than a craft one to be honest.
While going on Pinterest, I would see all these beautiful craft closets and thought that I could do that too.
So, I decided that I would take on this project, once and for all.
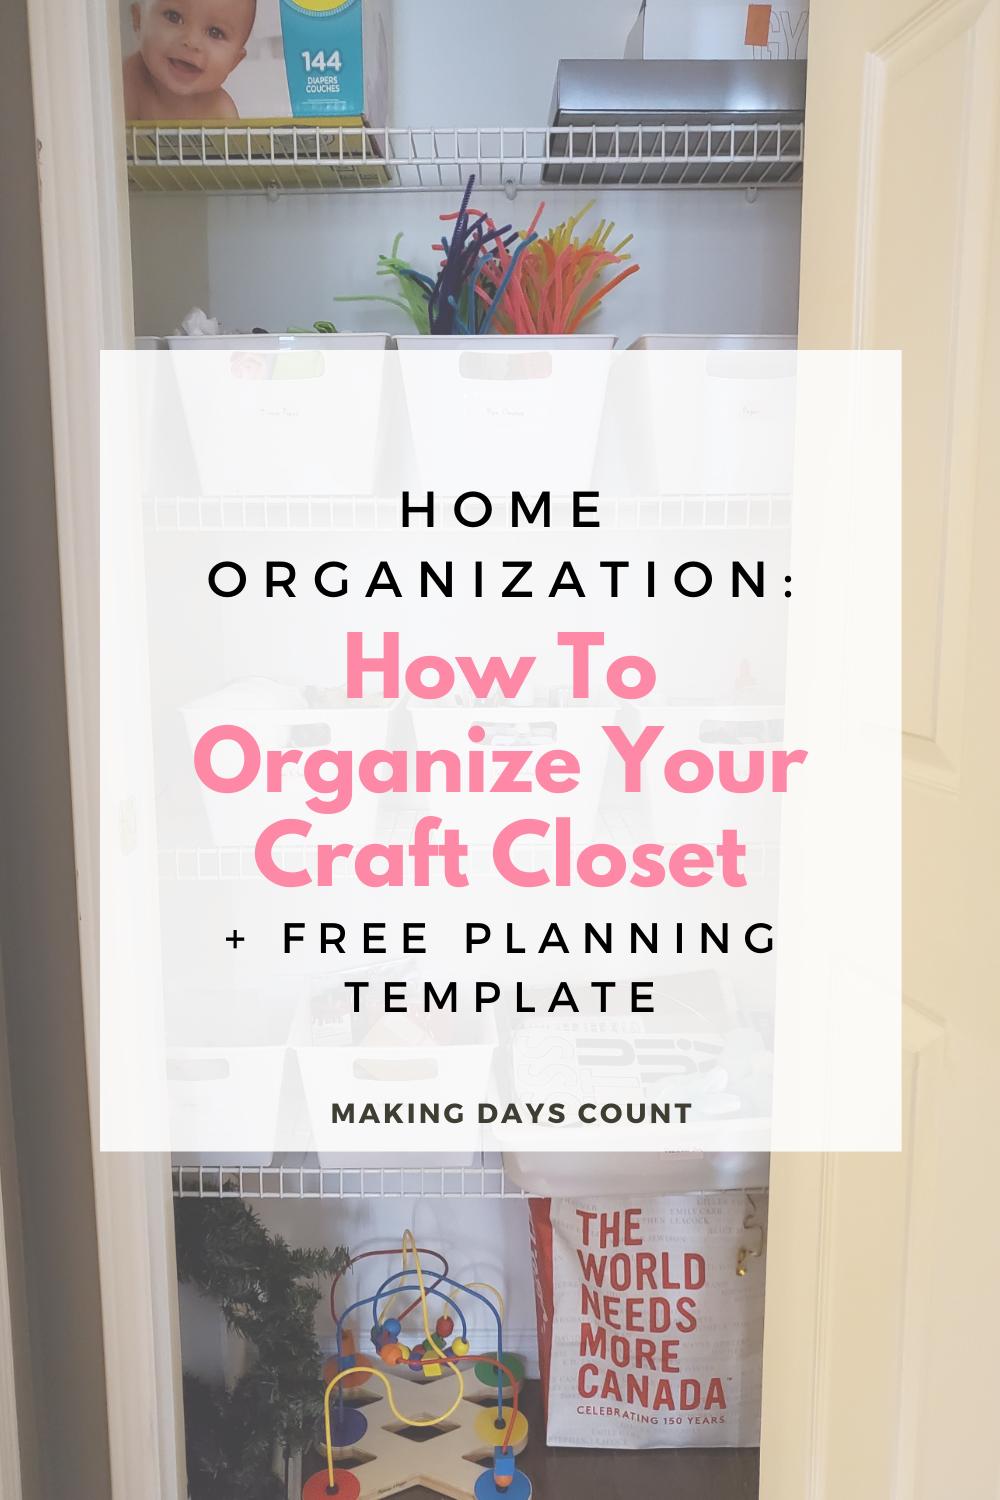
Pin this for later!
Contents
How to organize a craft closet:
BY CLICKING THE LINKS AND MAKING A PURCHASE, I MIGHT BE EARNING A SMALL COMMISSION AT NO ADDITIONAL COST TO YOU. PLEASE SEE OUR FULL DISCLOSURE FOR MORE DETAILS.
1. Accept the current state of your closet
As you already saw in the before picture, it was horrible. So messy and I didn’t even know what exactly was in it. I kept saying to myself that I’ll figure this out someday. Um, we moved in a few years ago and I don’t remember when this closet became like that.
As the first step, I accepted the fact that my craft closet was messy and I needed to change it.
No more denial that it was fine. It wasn’t.
By accepting the fact that it’s bad and messy, I can now move forward to make a plan to organize this craft closet.
2. Remove everything
I mean everything. If you have a toddler like I do, you might need to do this over some time or when they are asleep.
Take everything out of the craft closet.
Now you can see the actual space that you have in your closet.
Also, by removing everything, you can visually see exactly how much stuff you have. This will help you in the next step.
3. Sort and throw things out
Now that you’ve removed everything from the craft closet and put them on the floor/bed/table/wherever you put them, it’s time to sort.
Here are some rules that you can follow:
- Is it broken or cannot be used anymore? (Yes, toss)
- When is the next time you think you’ll use this? (Keep or donate)
- Do you have duplicates? (Keep or donate)
- Is this some random receipt that you don’t remember where it’s from? (Toss or Shred)
- Is this important to keep for memories (Put in a box of memories)?
As you continue to go through your items, you’ll find things that is easier to let go off than others. Get rid of the easy ones first and then make your decision about the items with some emotional attachment.
You can have three or four piles: toss, keep, donate, or shred (paper products).
The point is not to keep everything as you did before, but to be intentional about what you decide to keep.
4. Measure your craft closet (use my free planner template)
After you’ve sorted and threw out things that you no longer need or want, it’s time to measure your craft closet.
You can use my free planner template for Home Decor if you’re interested. This walks through the vision that you want for any space in your home, measurements, and follow up with steps needed to take to accomplish your vision for your space.
For me, I measured each shelf’s height, length, and width.
This will tell me the limit for the storage boxes or bins I want to buy to organize the space. Also, I wanted to put some of my toddler’s toys in a box in this closet, so I left some space at the top for this.
When you measure, you want to make sure that the storage box or bins you’re planning to get is able to fit in. What I mean by that is, it cannot be exactly the same size as you might need to maneuver the box or bin from a certain angle into the available space.
It’s like when M and I bought a couch for the basement and it was too big to go through the sharp angle of the stairs leading to the basement. That is something to think about.
5. Sort your craft supplies into categories
Now, looking at the keep pile, separate them into categories. You can do this step before measuring the craft closet too.
Here are some of my categories:
- Paper
- Christmas stuff
- Pipe Cleaners
- Sticks and Feathers
- Oversize Items
- Paint and Brushes
You can choose to be very general with your categories or very specific. It is up to you depending on what you have.
6. Buy organizational bins
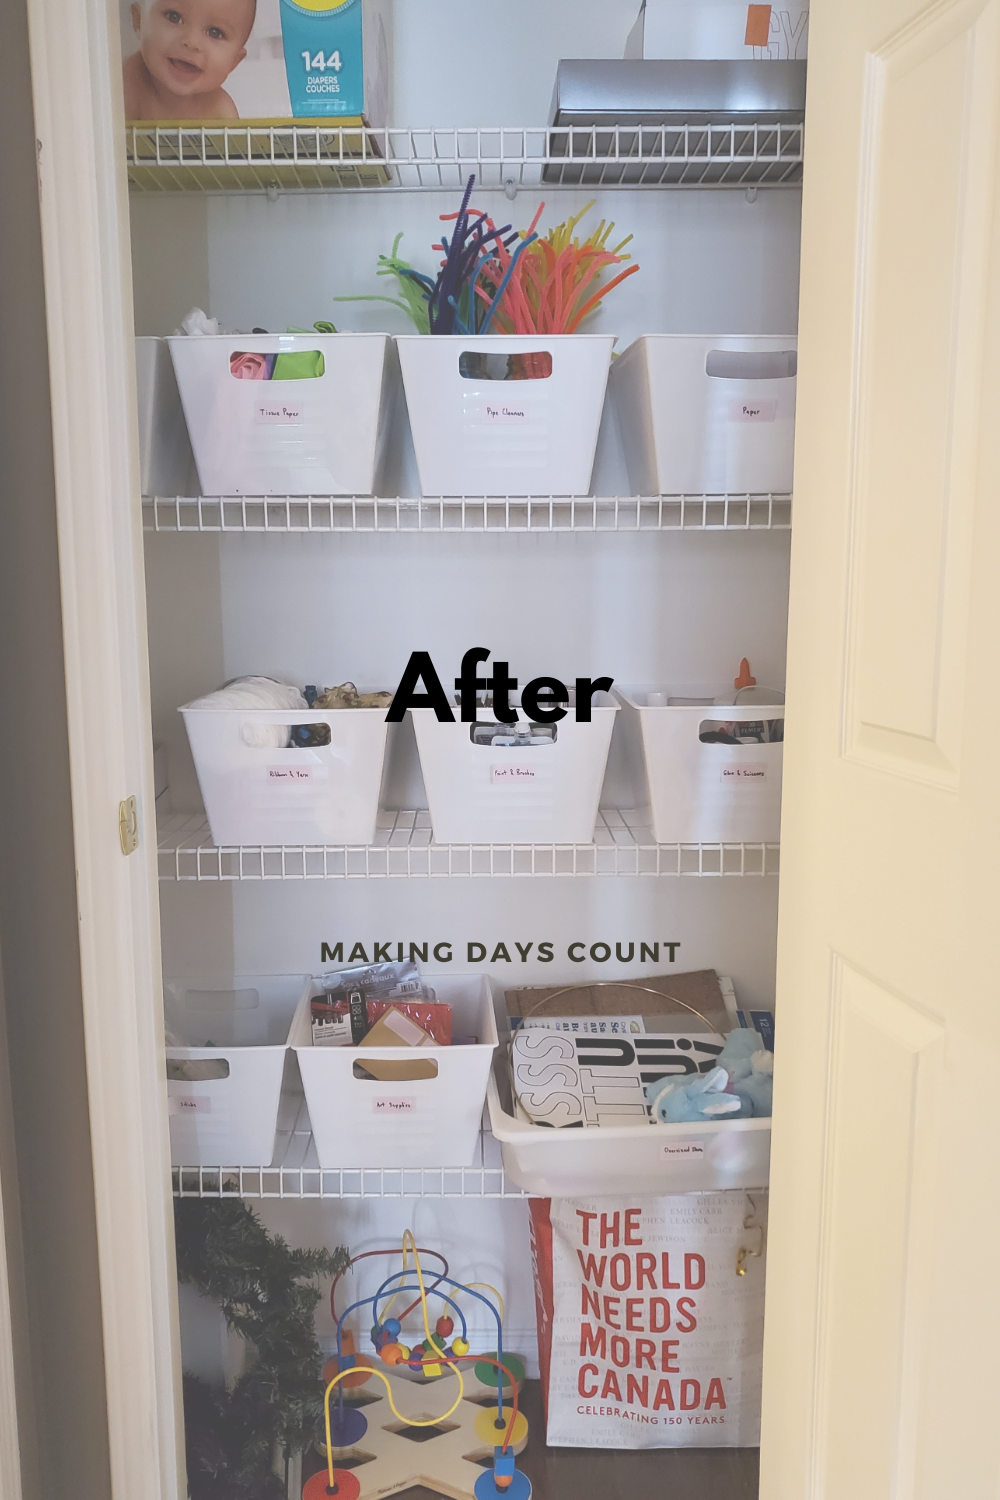
It’s time for shopping! I bought these organizational bins from the Dollar Tree.
They fit perfectly and are so affordable! I think I spent less than $13 CAD (less than USD $10) for everything after taxes.
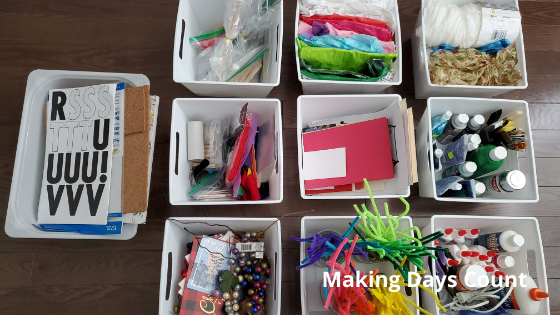
Depending on your measurements that you made before, choose bins that are perfect for your shelves. Another great place to look for organizational bins is Amazon.
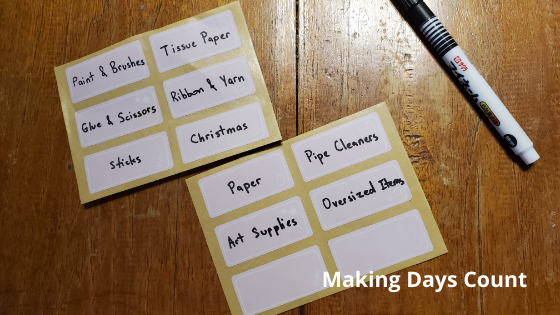
I also got label stickers to put on my bins, but there were not too sticky. So, I put a tape over it to keep it on. Here are some other labels with better reviews.
7. Setup in a way that makes sense to you
Only you know what works for you and your space. Take a look at your measurements, the organizational bins that you are planning to get or already have, and arrange it how you think you can keep it organized.
I setup the bins where the fragile and important items at the top and less important at the bottom. This way if my toddler reaches for something and pulls it down, it should be easier to clean up.
Yes, I put the paper at the top so she would not tear them up. Why do they like to do that? LOL
If you have pets, you’ll understand that putting things at a higher level will hopefully prevent them from reaching for it.
8. Keep it in the same organized state
Finally, keep it organized.
Enjoy the process that you took to get where you are and tell yourself, no more returning to the messy state that it was once in.
You can always rearrange the items as you see fit. However, keep it organized. Put things back (or tell your kids to put things back) where they belong.
Here is an after picture:
Thank you for reading my blog post on “How to Organize a Craft Closet”. If you like what you read, please pin the image below and share it with others. Thanks!
Leave a Reply