To save some money on my wedding, I wanted to work on easy DIY Wedding projects. I had around 8 months between when I got engaged and when I got married.
During this time, we also had to travel to Asia for another wedding, to New York to visit family, and M went to London for another wedding.
Oh, did I mention that I was also finishing my studies?
It was a busy year.
There were things that I knew I wanted to make myself to save money. I will explain whether I did or not for each of the items.
Some of the DIY projects were semi-DIY because it was just easier and makes sense that way.
Contents
Here are the following DIYs I did for my wedding:
BY CLICKING THE LINKS AND MAKING A PURCHASE, I MIGHT BE EARNING A SMALL COMMISSION AT NO ADDITIONAL COST TO YOU. PLEASE SEE OUR FULL DISCLOSURE FOR MORE DETAILS.
Flowers
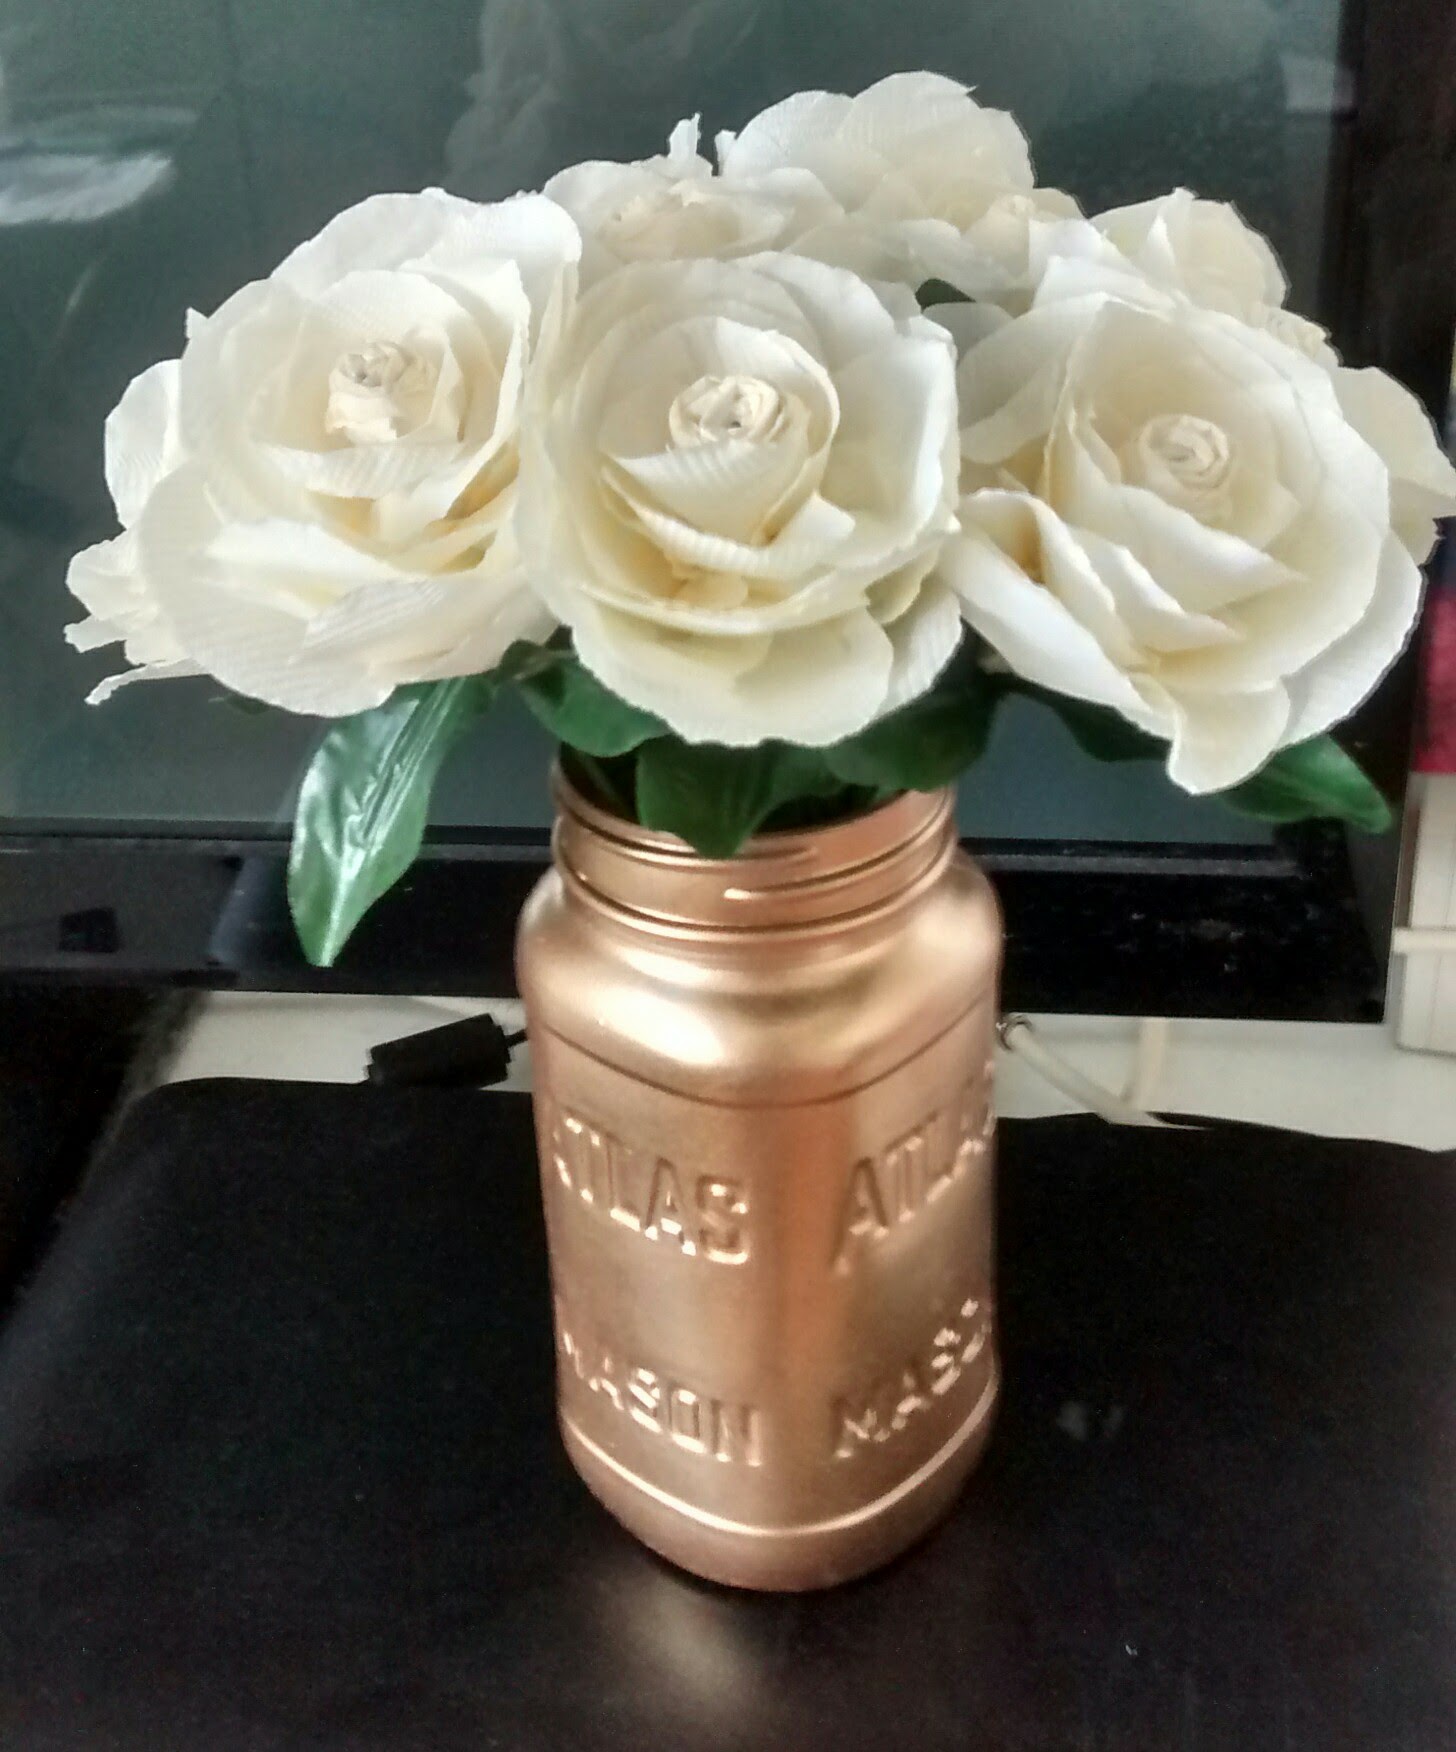
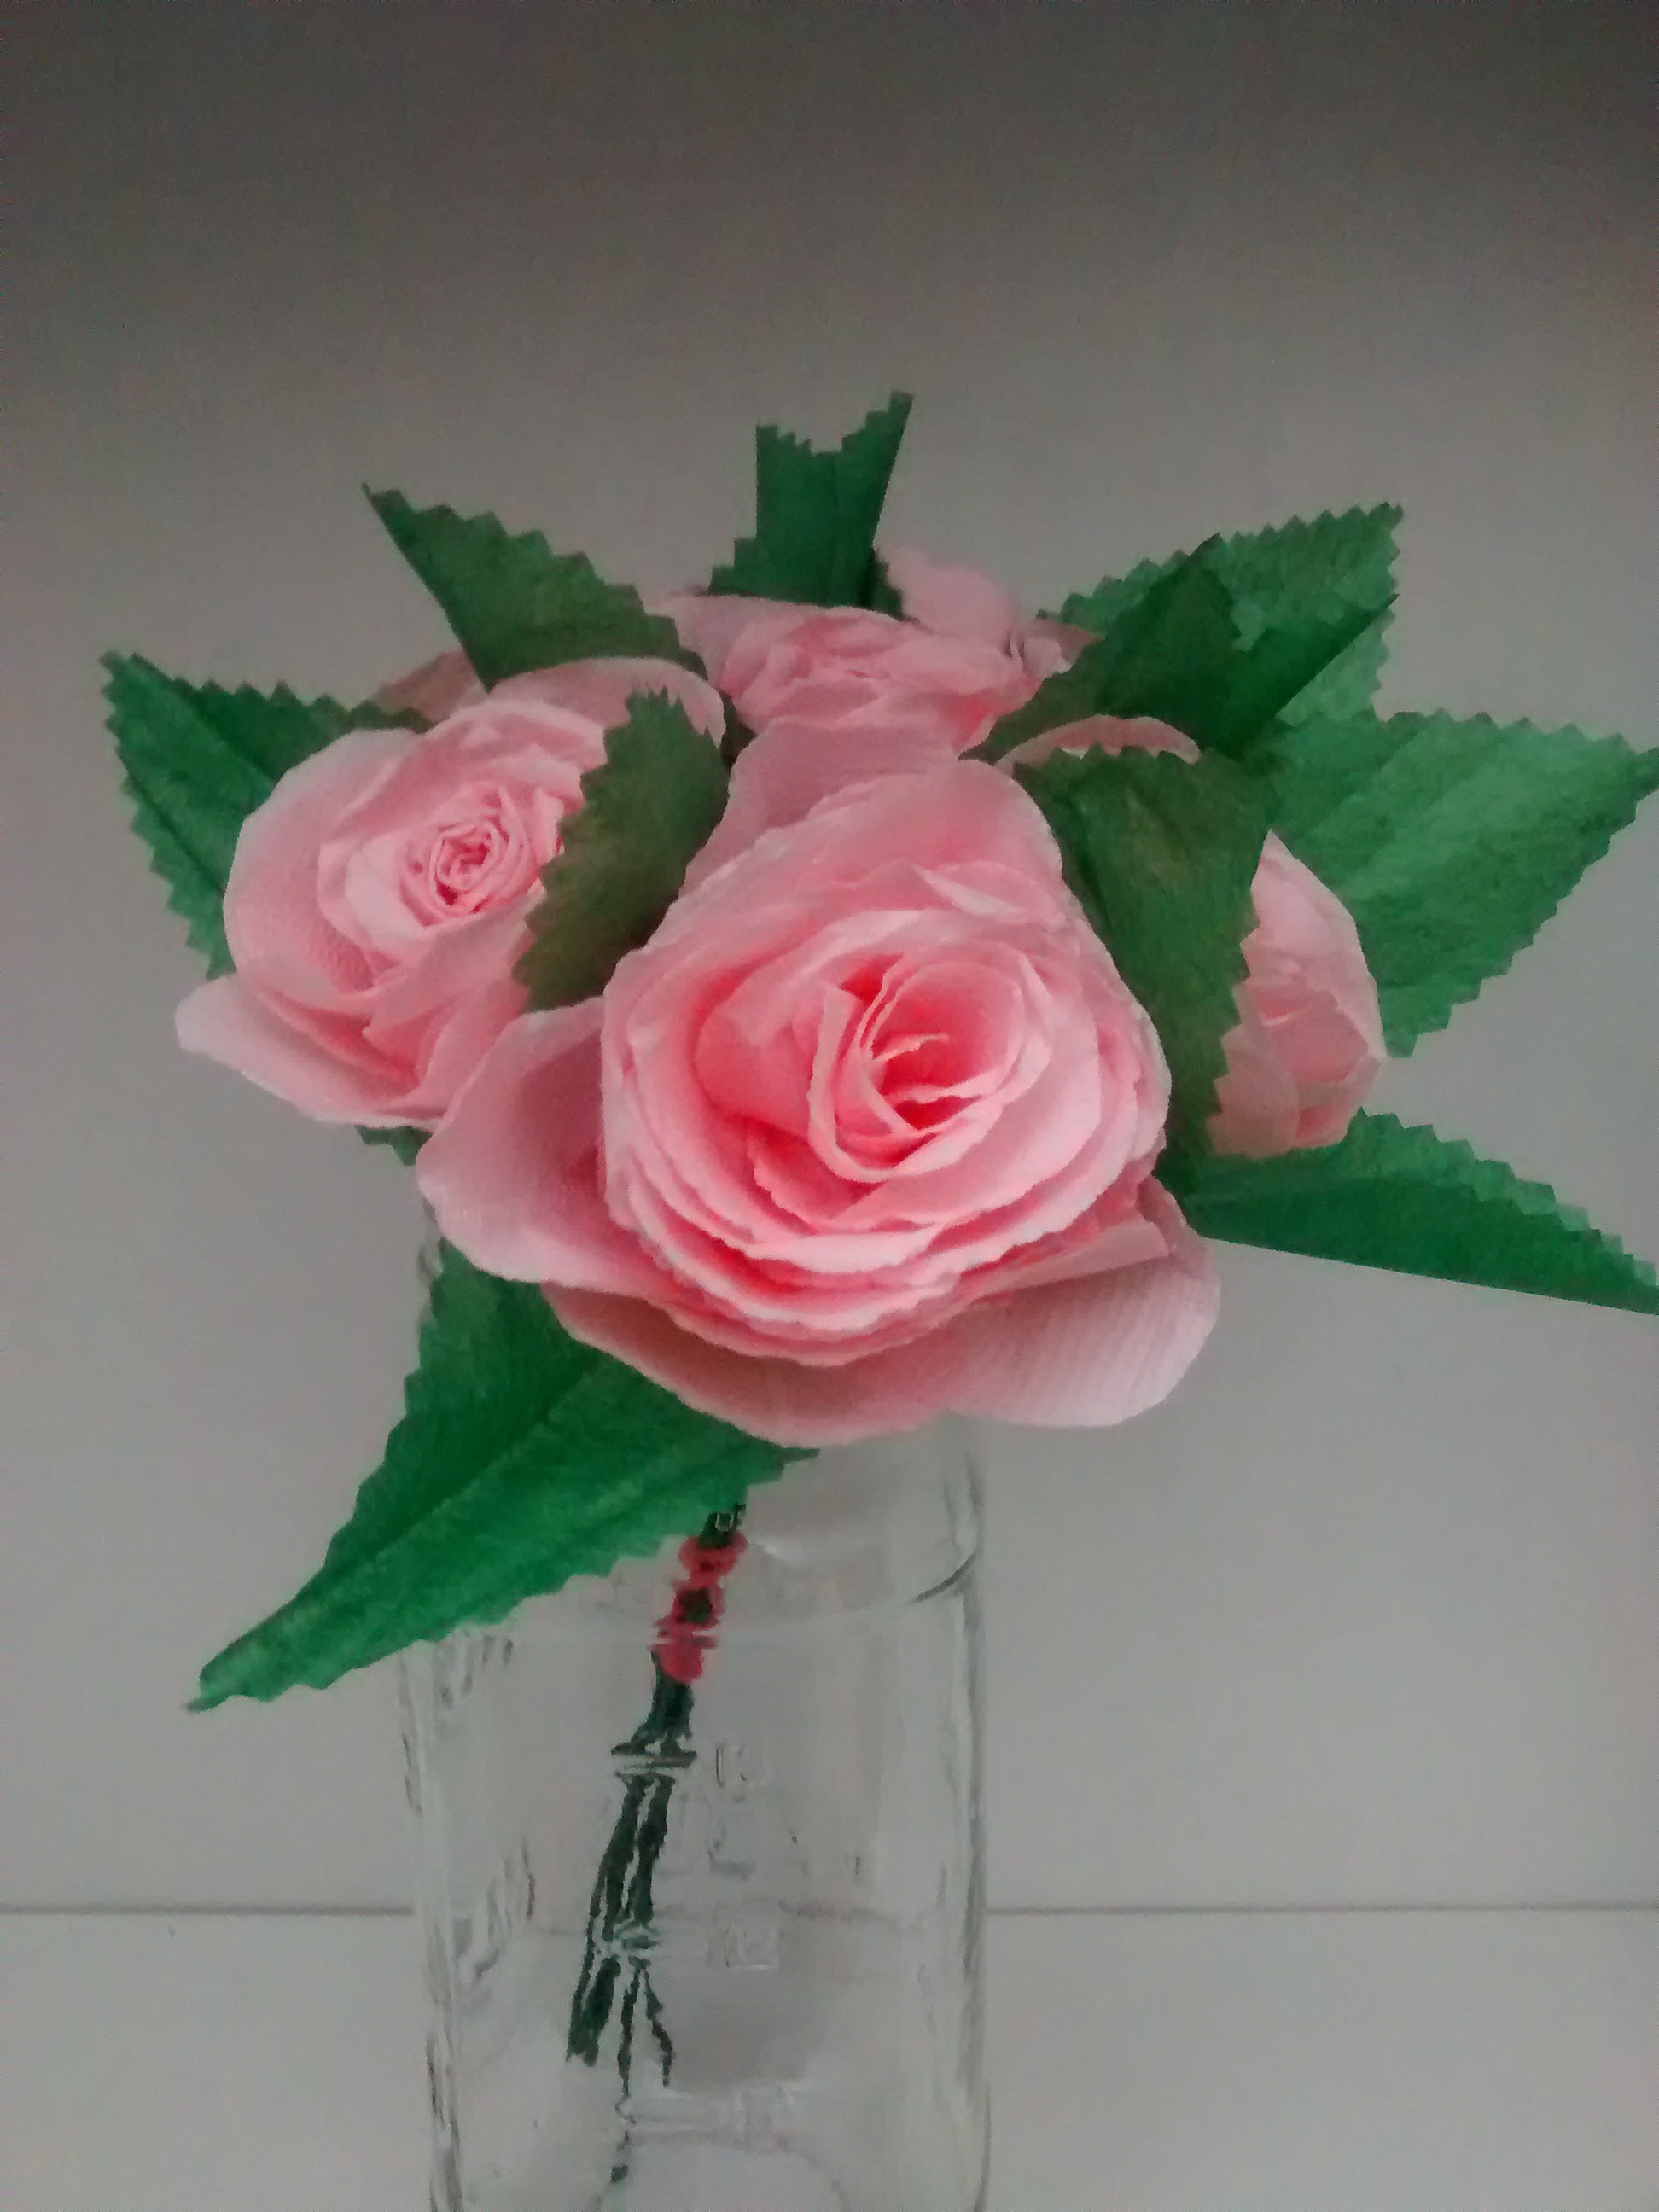
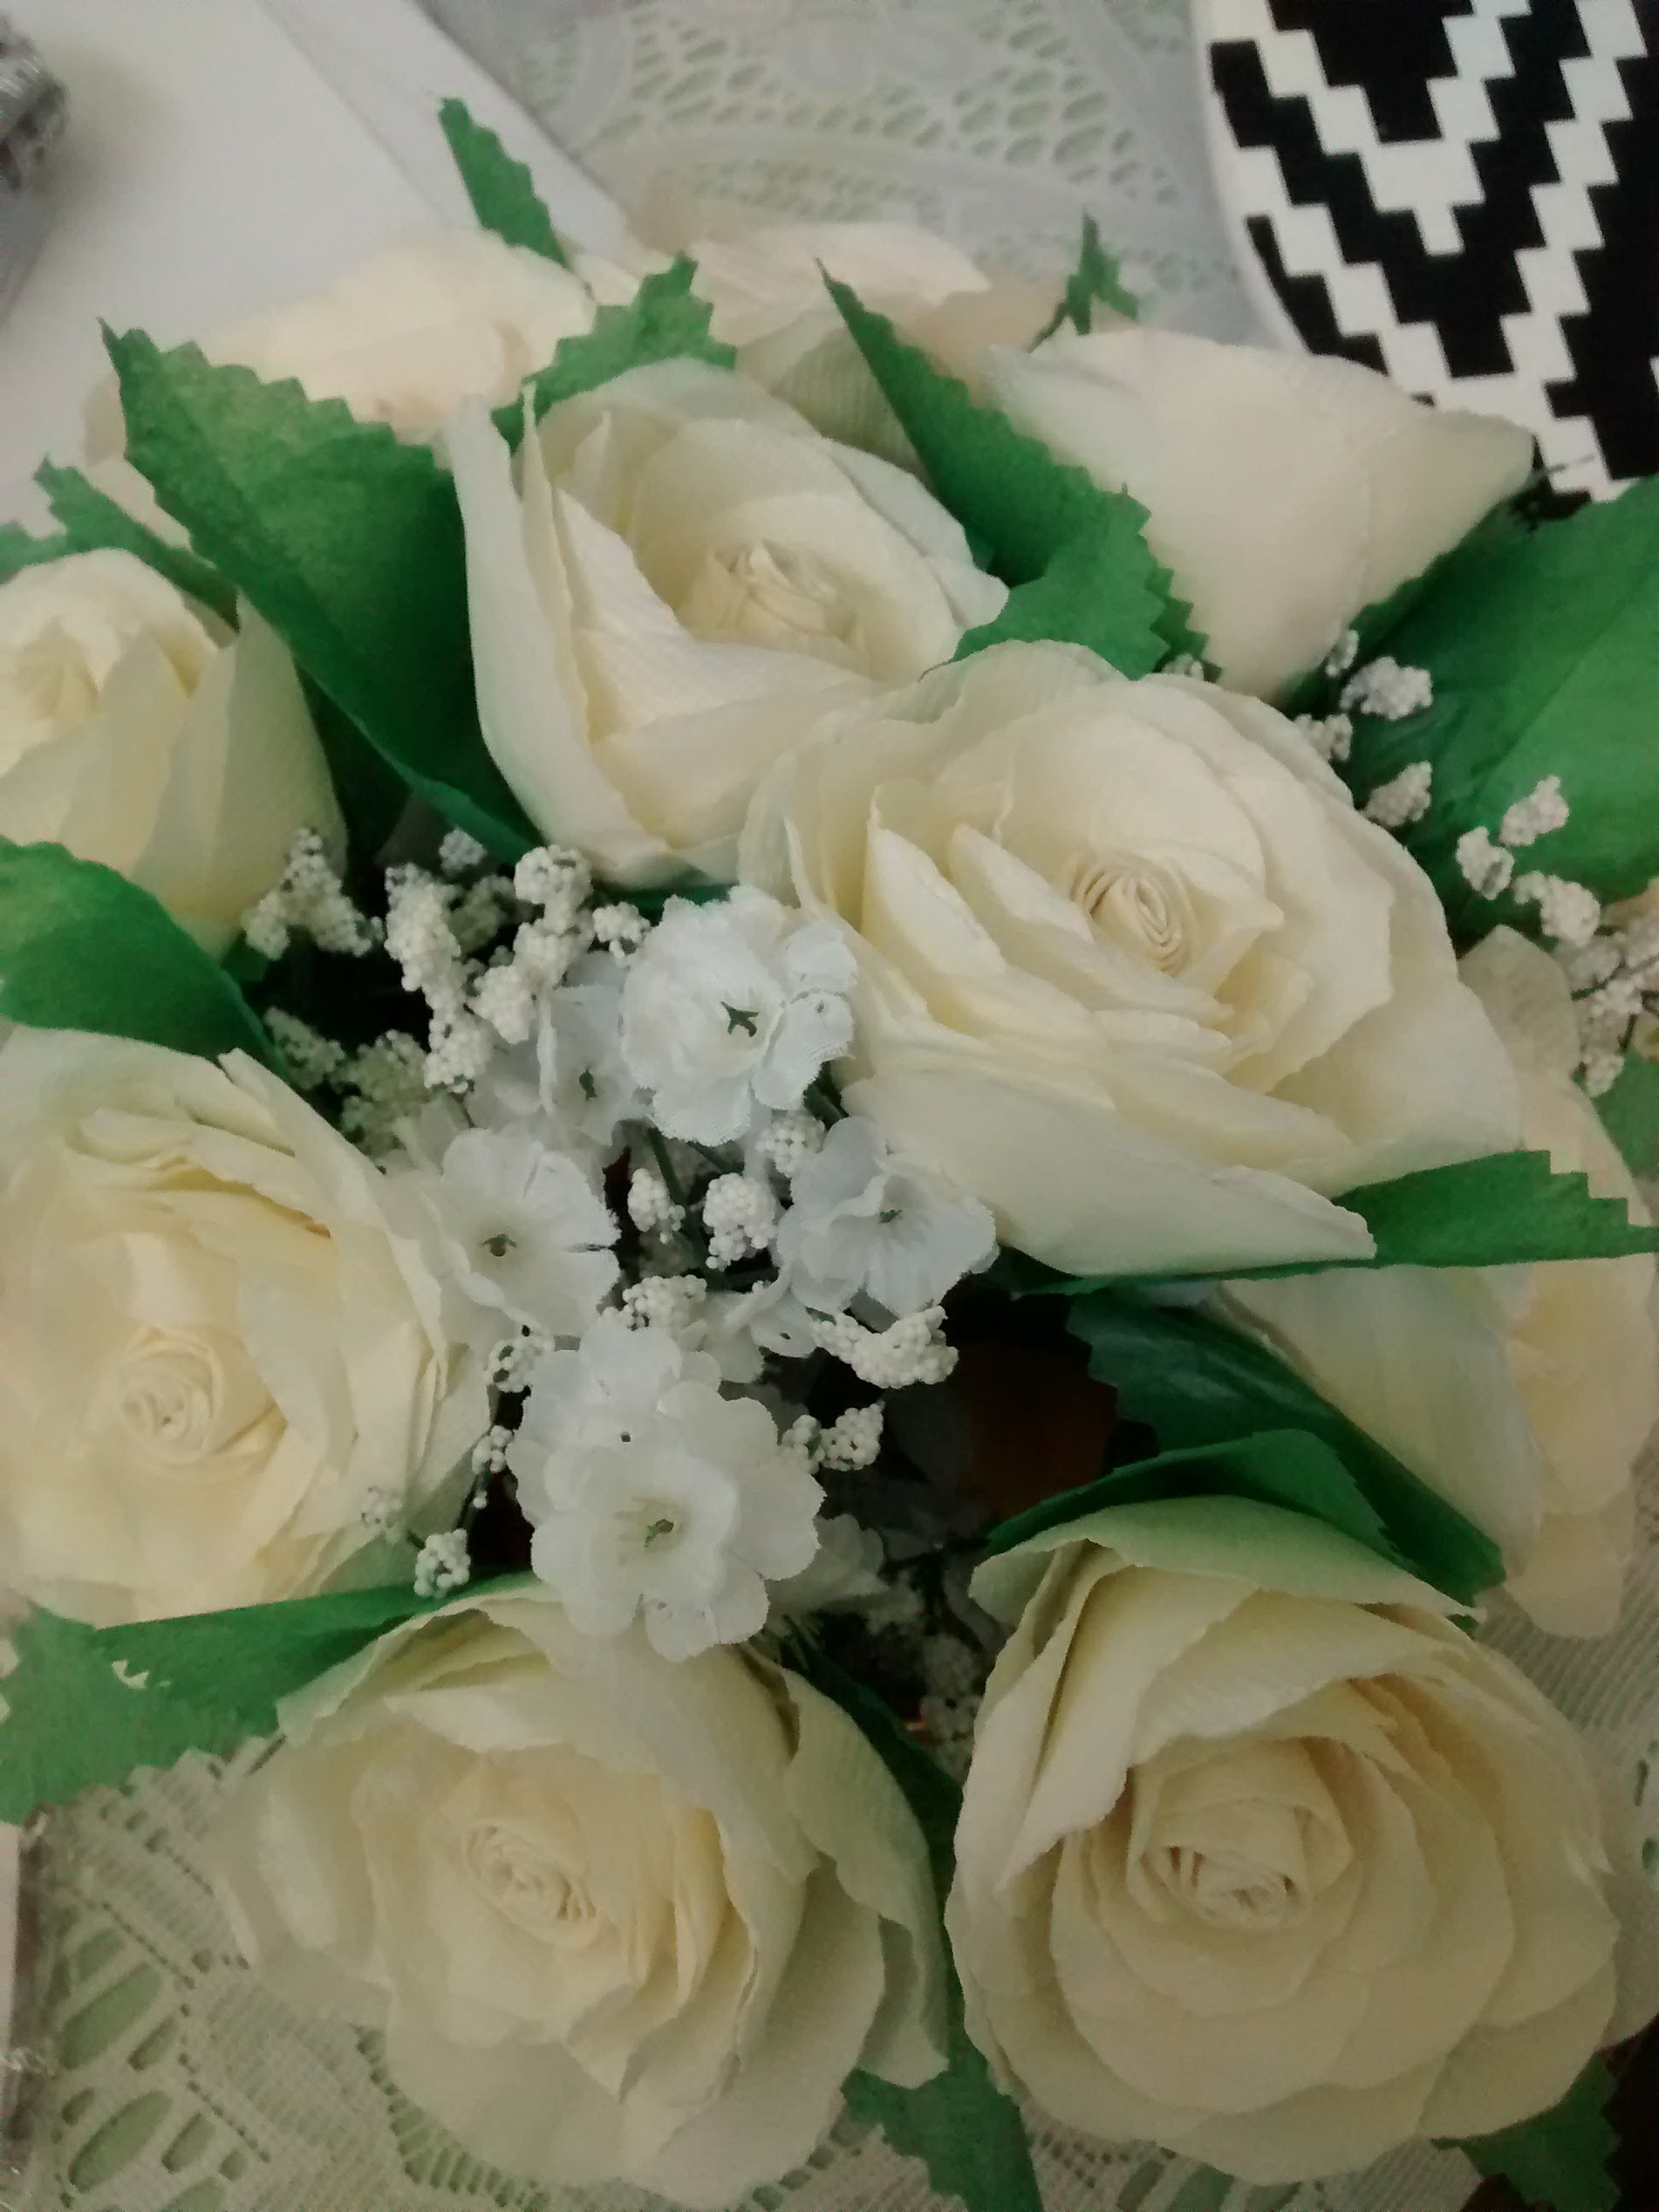
I made my bouquets, centrepieces, and corsages out of paper napkins. It was just something I experimented and was able to put together these beautiful flowers together.
Here are more pictures:
If you want me to do a post about how to create these flowers, please let me know in the comments below or email me at becca@makingdayscount.com.
This was worth it to me because I still have these flowers in my home and they are handmade. Also, it saved me a lot of money on flowers. If you prefer real flowers, you should definitely get real flowers. As for me, I wanted to save money in this aspect as I enjoyed making these flowers.
I think the total spent was less than $75 on one bridal bouquet, two bridesmaids bouquets, one flower girl bouquet, at least 10 boutonnieres (family, pastor, and people involved such as ushers), and 18 centrepieces.
Invitations
Disclaimer: I have covered certain information due to privacy reasons.
This is what my invitation looked like: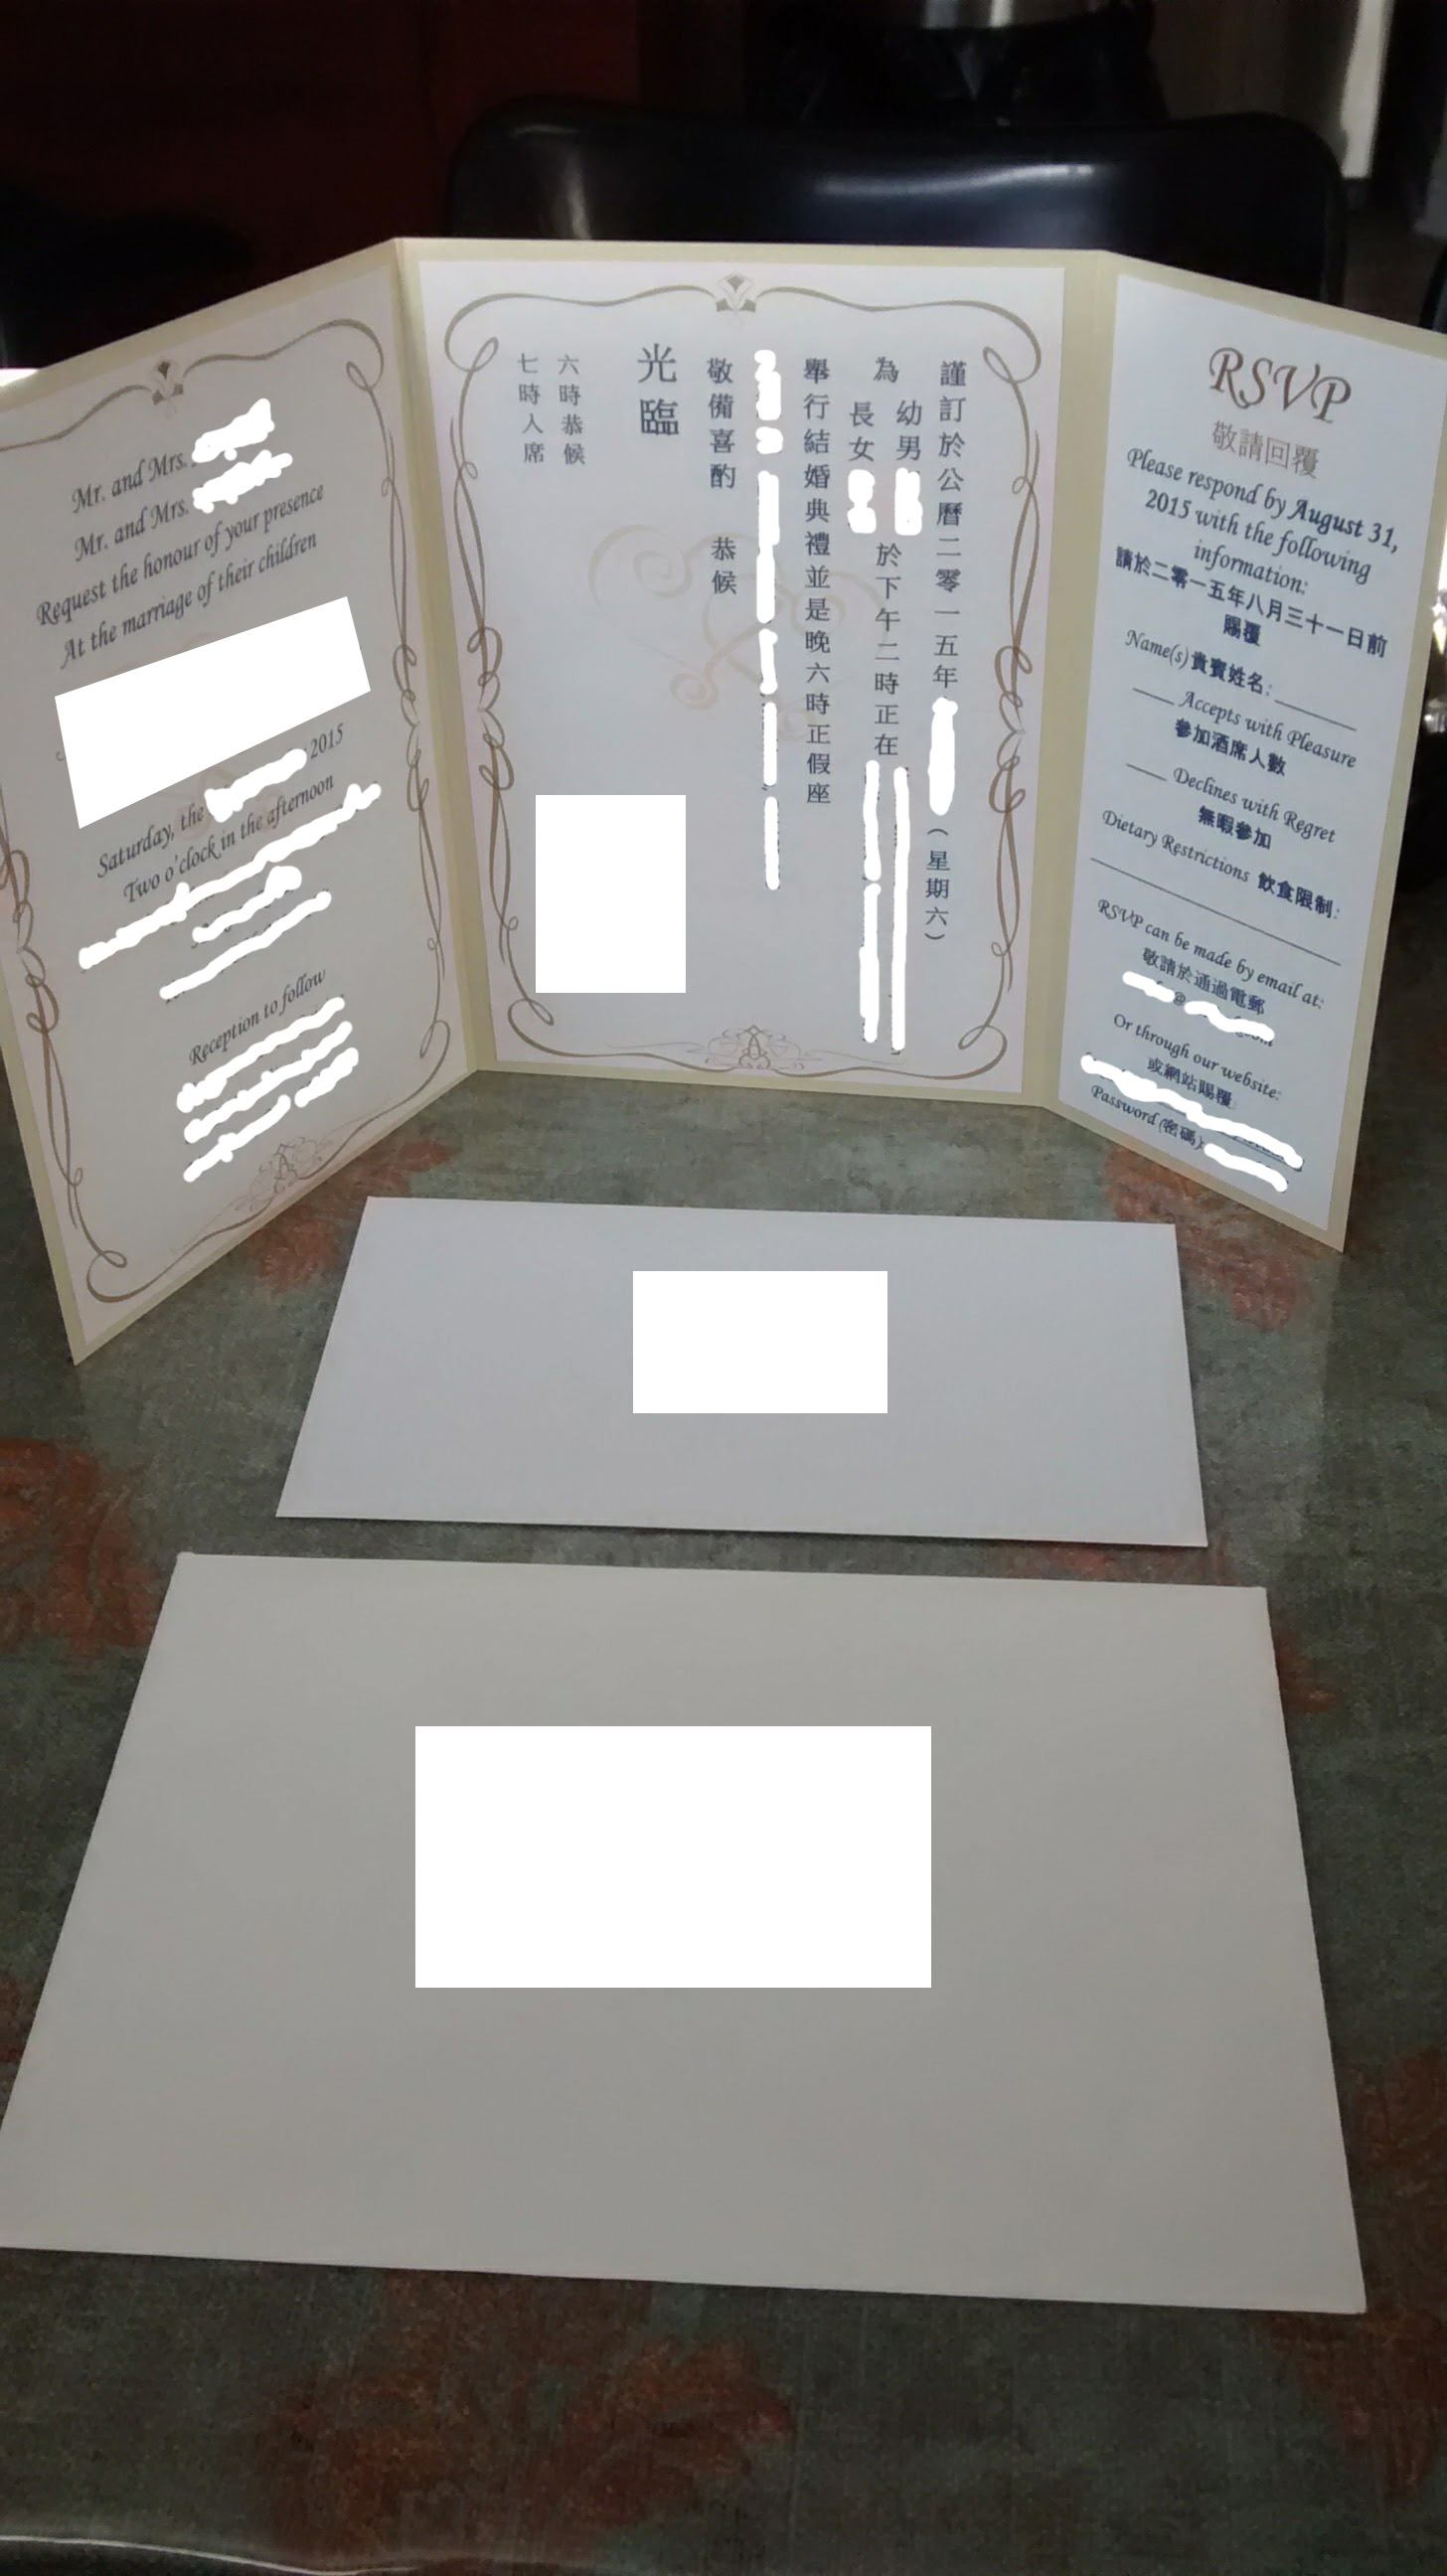
This was a semi-DIY project.
What we did ourselves:
- designed the invitation on Microsoft Word (free template)
- print out the invitations
- cut out the three different pieces
- glue and put together the invitation
- print the addresses directly on the envelope (very easy, found the tutorial on YouTube)
What was done for us:
- bought envelopes from a local print shop
- chose the same gold colour for the pocket part of the invitation
- paid for them to measure and score each pocket
- the local print shop designed our monogram (which is placed in the front of the invitation, sorry I do not have a picture of that)
Overall, it was a lot of work. I also figured out that certain glue works better than others. Also, my paper cutter came in so handy (similar one here).
I had a lot of fun making these invitations. They were costly (less than if I get it fully done by the print shop), but it was so difficult to find a bilingual one that we liked. Yes, I could have cut down on paper to save money, but I really liked the pocket invitations we designed.
Candles
We had candles as part of our wedding ceremony.
This was somewhat of a semi-DIY. I did not buy them together as a set.
Let me tell you my frugal ways.
I bought the two taller candles at the dollar store for $1 in total and the bigger, middle candle at Ikea for $4. So in total, I spent $5 plus tax for my candle portion of the ceremony.
I borrowed the candle holders from my mother-in-law. I was so happy that I saved a ton with these candles.
Before we continue, please sign up to get access to your FREE Printables. I also included wedding organization sheets such as table seating arrangements and day-of to-do list for family members.
Favours
These is a semi-DIY project as well. We bought the chocolates from Lindt at an outlet mall in New York when we were visiting family, the gold bags were from online, M designed the favour tag, we printed them and put the favour bags together.
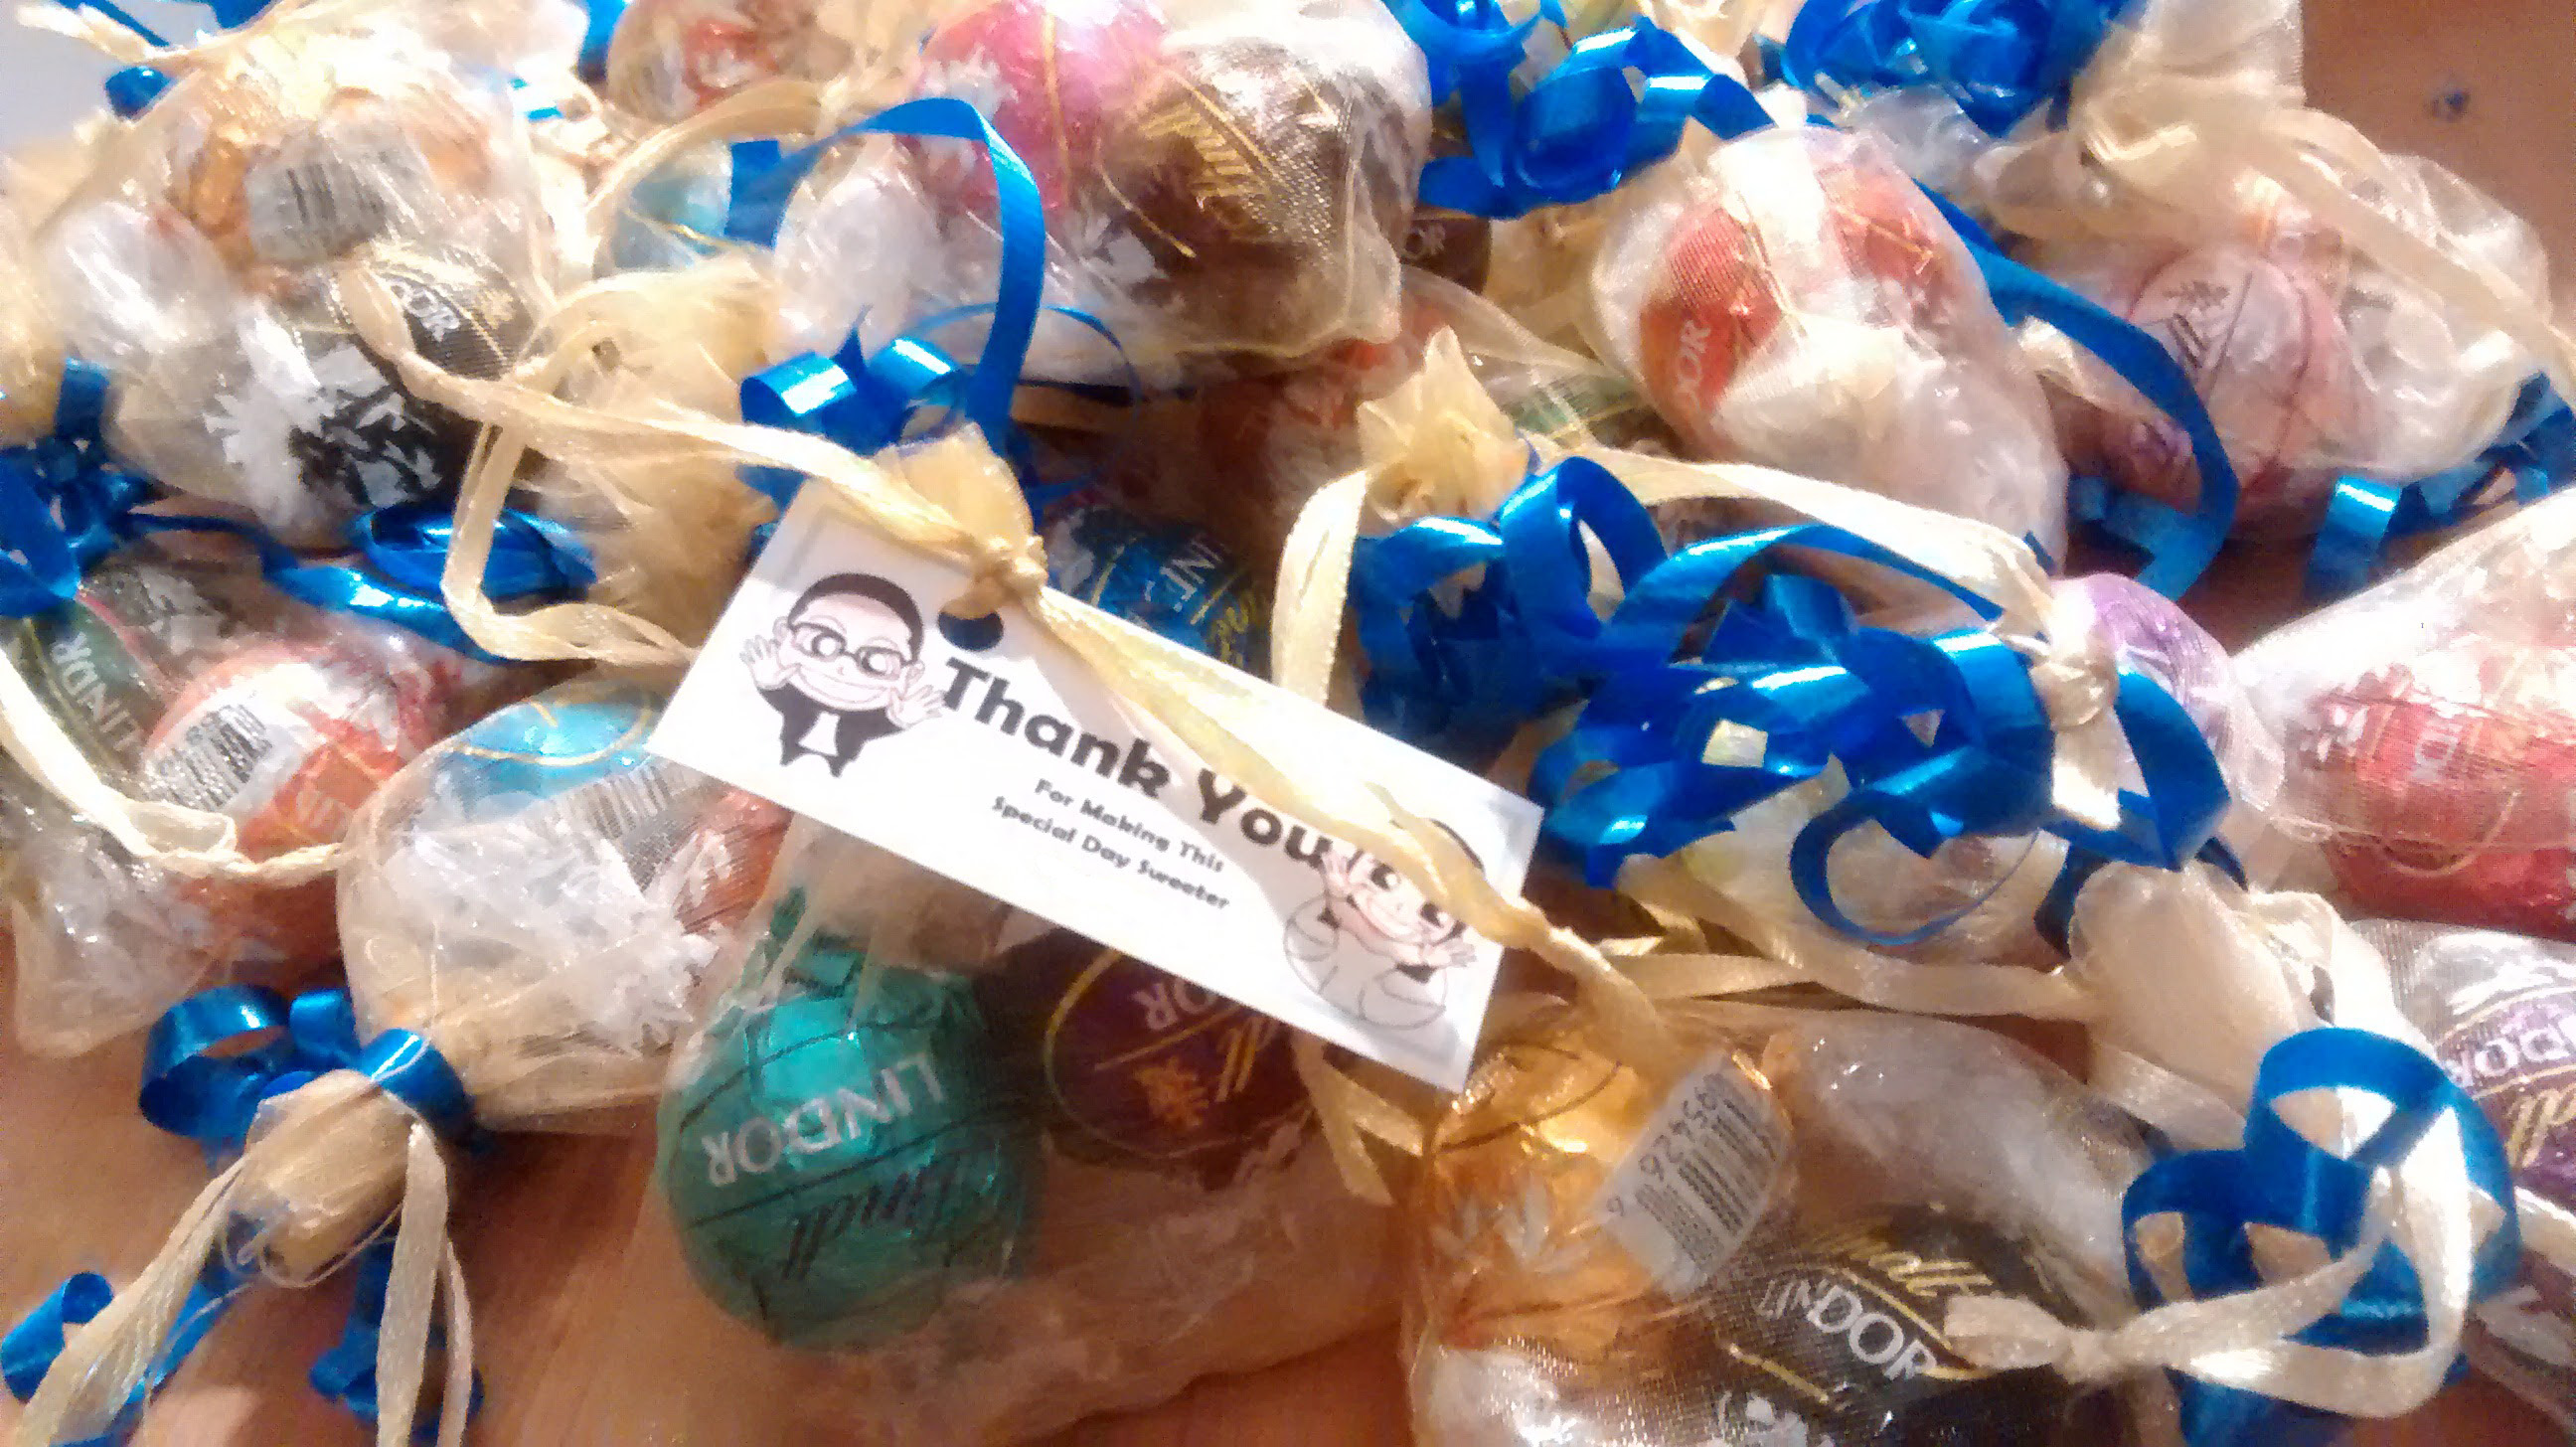
Aren’t they cute?
I wanted to give out food as favours because they will not go wasted. Or at least I hope so.
As for the cost, I don’t think we spent more than $120 for the favours in total and we put together about 180 to 200 bags I believe.
Food Signs
Our ceremony was in the afternoon and so we had a mini reception at the church. We ordered food to be brought there so that people can enjoy some food while chatting with one another.
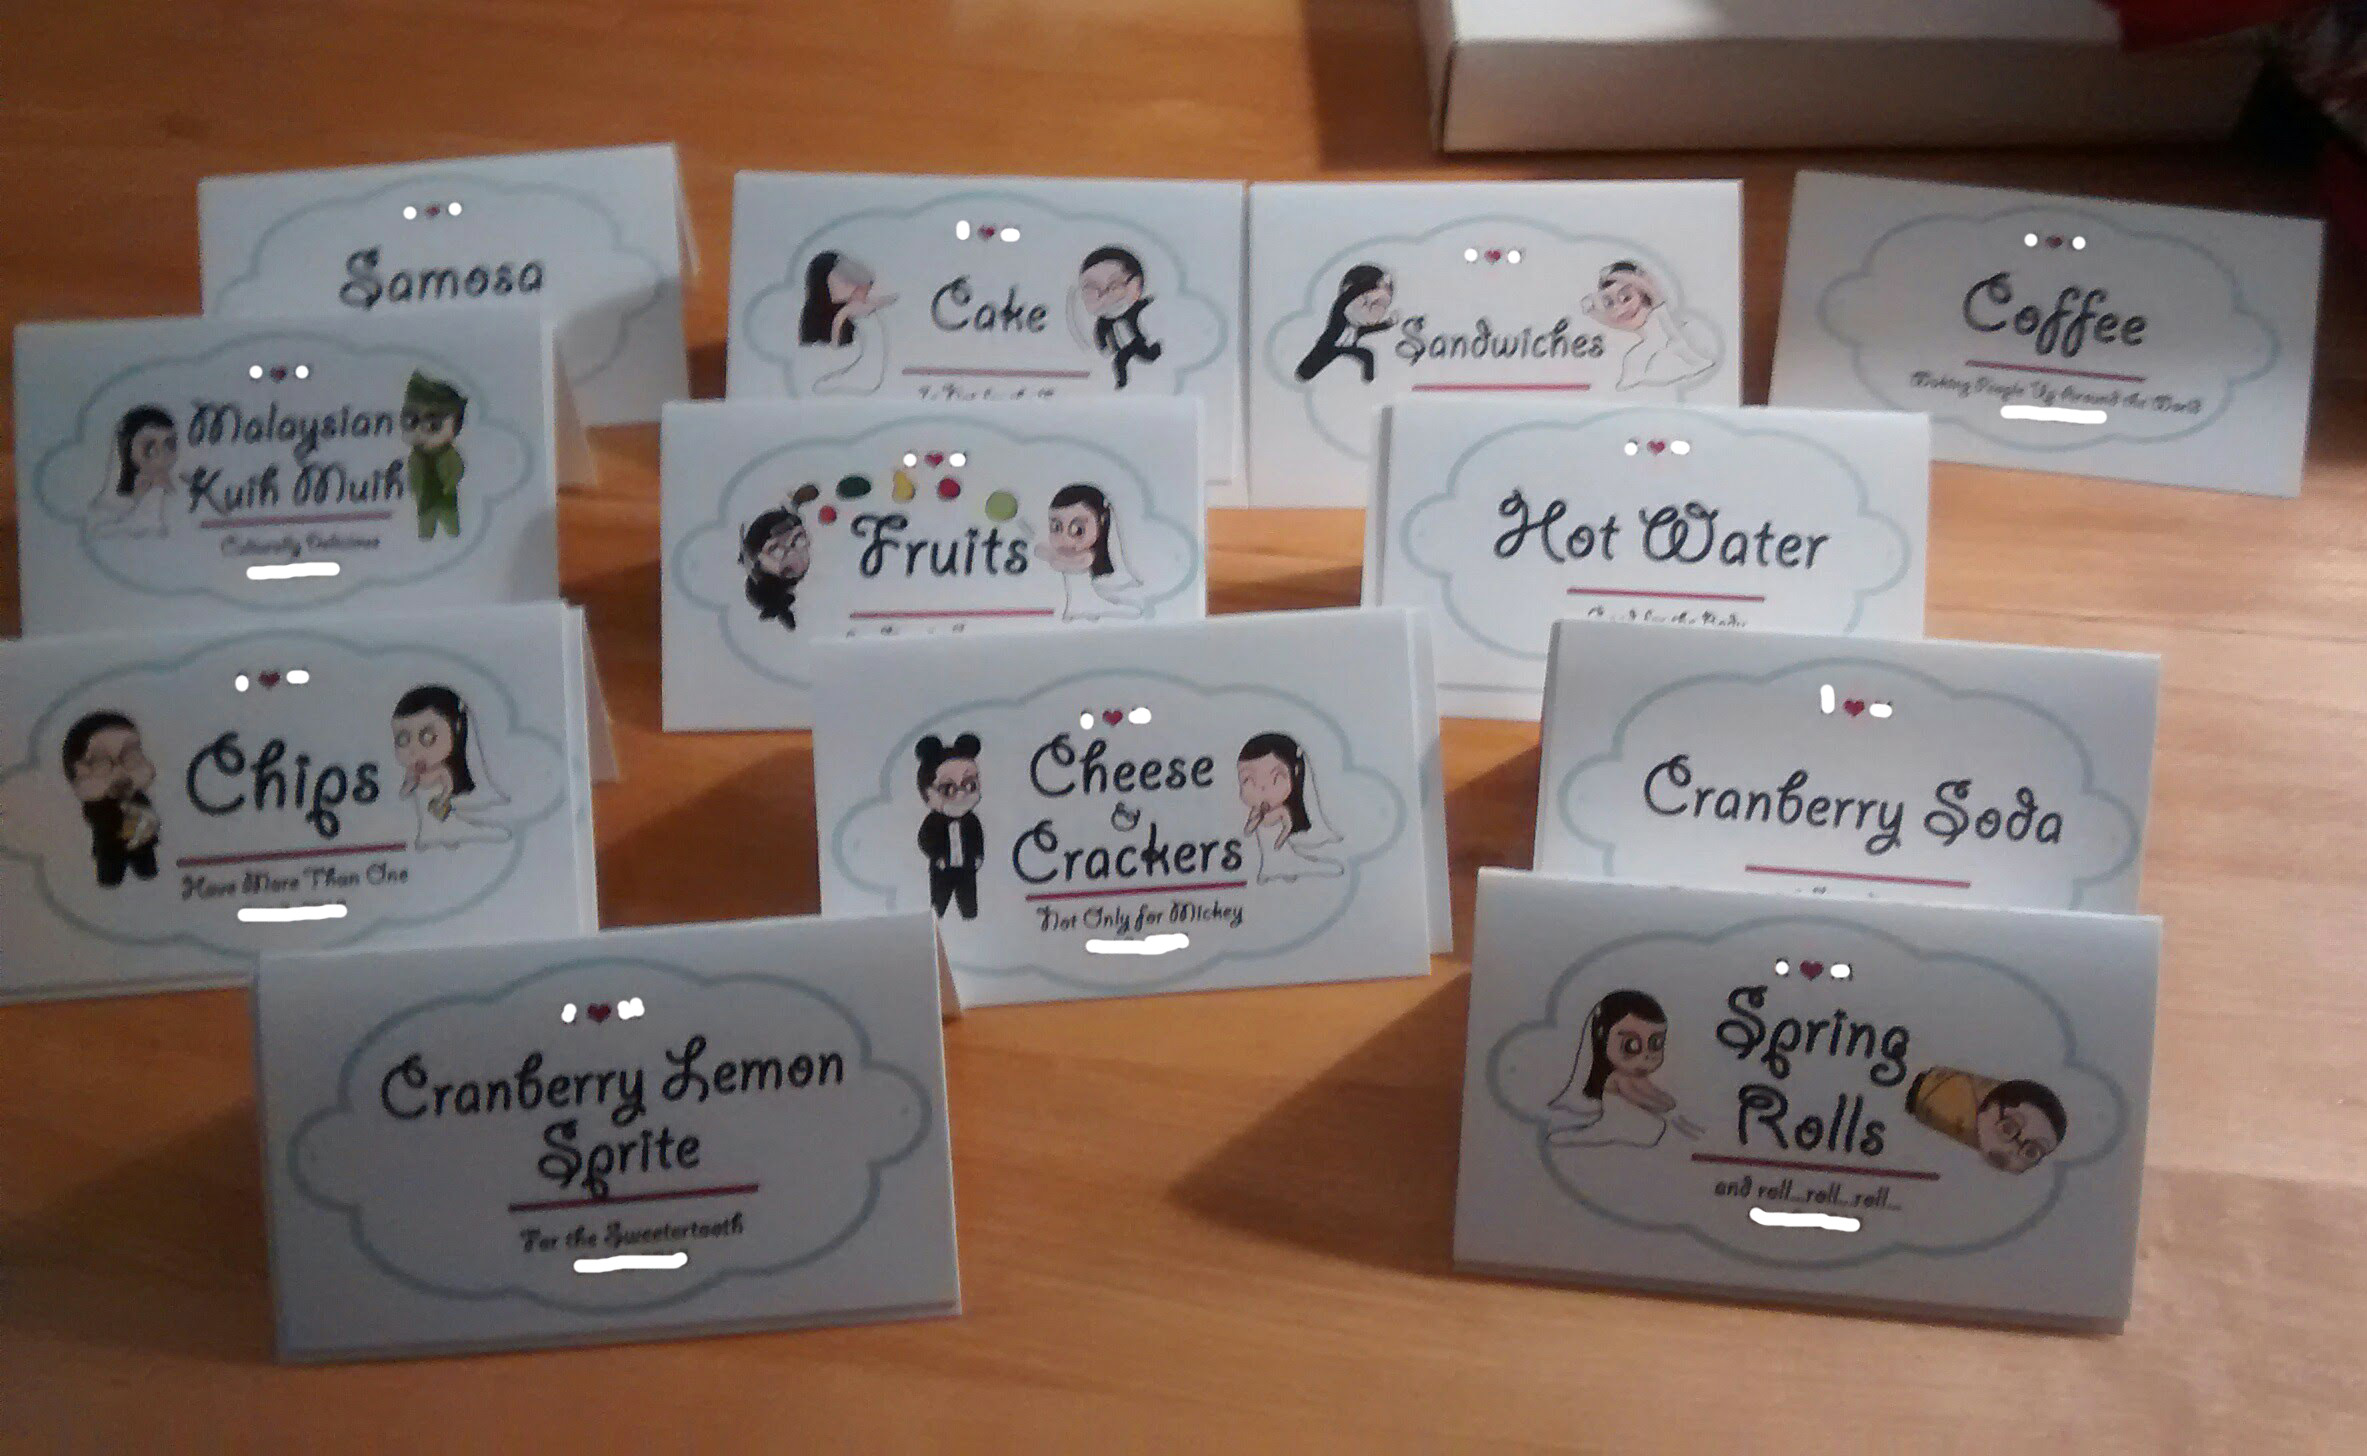
M designed these as well. I love them so much.
It was too bad that someone tossed them out, I would have loved to keep them.
My part in this DIY was just to fold them and keep them secure in a rubber band before passing them out to the person in charge of the food.
If you want to make something similar yourself without the characters, you can make it on Canva. Just choose the size that you want and they have a list of fonts and colours you can use for free.
Ceremony Canopy
I wanted to have some sort of backdrop in the front during our ceremony. So, we started looking online and found that we wanted something like a canopy.
M went to Home Depot and got tools to make the Canopy.
I went to buy tulle and also tissue paper flowers (I bought on Etsy) to decorate it.
If you want to make your own, YouTube has tutorials on how to make it with pipes. If you do make your own, please tag me on Instagram @makingdayscount. I would love to see it.
Pin this!
Related:
- 5 Things to do after You are Engaged
- 7 Wedding Favours Ideas
- 7 Wedding Items You can Get from the Dollar Store
Don’t forget to sign up for access to your FREE Printables:
Leave a Reply