Are you planning a party soon and need an affordable (aka cheap) party decor? Have you considered making a paper plate wall? It is so easy to make and also good for your budget.
For Baby K’s first birthday party, I wanted to decorate our dining area without splurging. I knew that she won’t remember it except through pictures, but the guests might remember. It turned out so much better than I thought.
Please know that I did not come up with this idea as I saw it somewhere on Pinterest. It looked like so much fun so I decide to create that for Baby K’s birthday party.
Before we continue, please know that this blog post is part of Baby K’s first birthday series. Here are the other posts:
1. How to Design a Birthday Invitation for Free
2. 9 Motherhood Lessons: My First Year
3. DIY First Birthday Games: Who Knows Baby Best
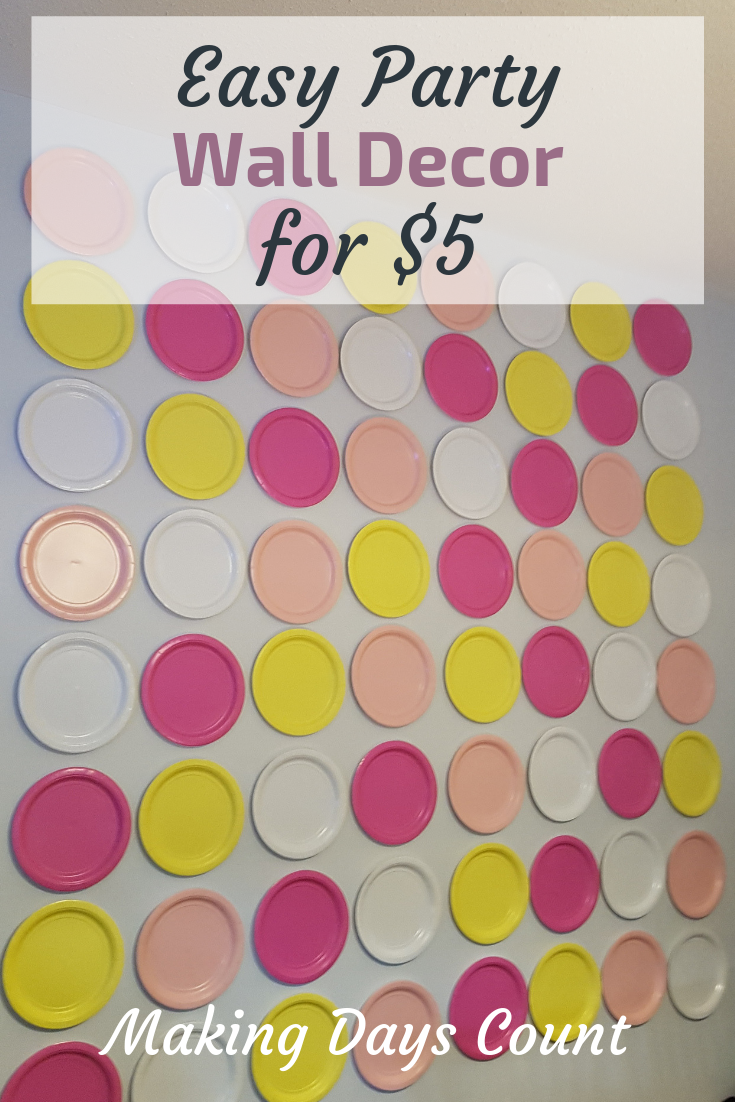
4. Cheap Party Decor: $5 Paper Plate Wall (this post)
5. How to save money on 1st birthday party
6. My 30 Hour Labor and Delivery Story
Pin this for later!
Contents
Here is how to DIY a Paper Plate Wall:
BY CLICKING THE LINKS AND MAKING A PURCHASE, I MIGHT BE EARNING A SMALL COMMISSION AT NO ADDITIONAL COST TO YOU. PLEASE SEE OUR FULL DISCLOSURE FOR MORE DETAILS.
What you need for your cheap party decor:
- 4 Different Color of Paper Plates
- Sticky Tack (I already own this, but you can get something similar here)
We got ours from the Dollar Tree. Each set of 20 plates cost us $1.25 (CAD). Yes, taxes were extra but it’s not much.
If you do not have access to the Dollar Tree, check out your local dollar store or party supply store.
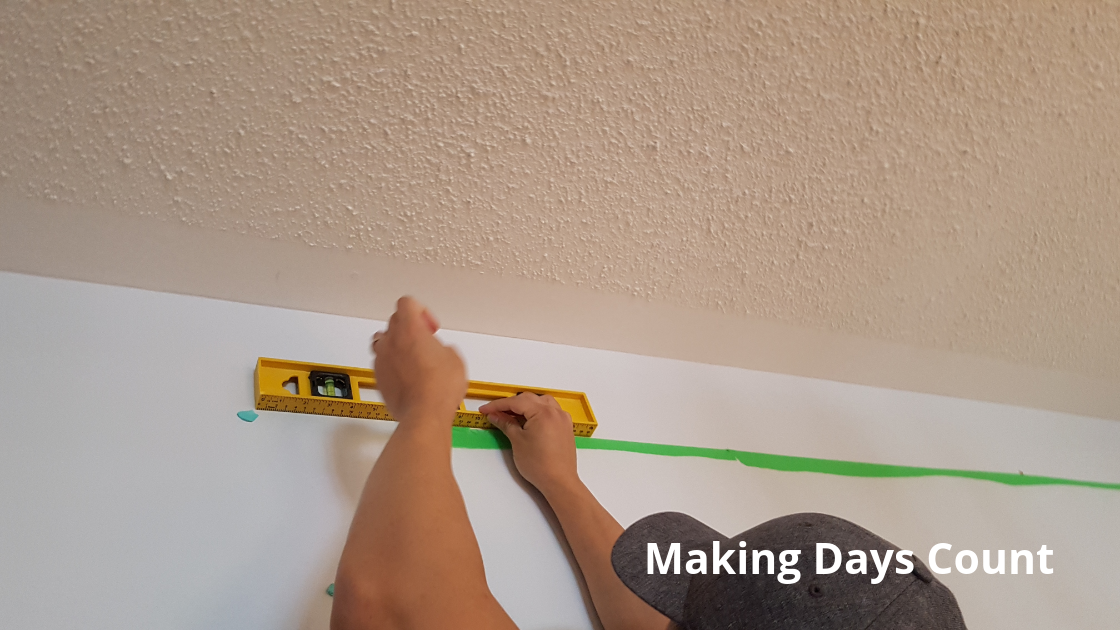
Step One: Measure the wall you want to decorate
Choose the wall where you want to decorate. It could be the cake wall or just a backdrop where people can take pictures.
I was having the party at my house so I had access to measure it every day. If you are renting a space, try to measure it when you have an opportunity to.
The space that I wanted to cover was around 70 inches wide and 80 inches high.
With that, I decided that I wanted to put 7 plates across and 10 plates down to cover the entire wall.
One thing that I did not take into considerations are the size of the plates. Please do. I talk more about this in the next few points.
Step Two: Buy the paper plates
There are a few things you need to do. After knowing the measurements of your wall, you want to calculate how many plates you need to cover up the whole wall. How many plates do you want to put vertically and diagonally?
With the plates, you want to also consider the size. Some plates are 7 inches while others are 9 inches. The bigger ones would take up more space and you would need less. Please factor that into your calculation.
Also, you want to think about the color. When planning this party, what colors do you imagine? Of course, there are limited colors available at the Dollar Tree or your party supply store, so see what colors resemble closest to the ones you are thinking.
For us, we chose hot pink, light pink, yellow, and white as they were available at the Dollar Tree. Our paper plate wall turned out great with this color combination.
It is better to get a few more plates than less just in case of miscalculation or if one plate turns out damaged.
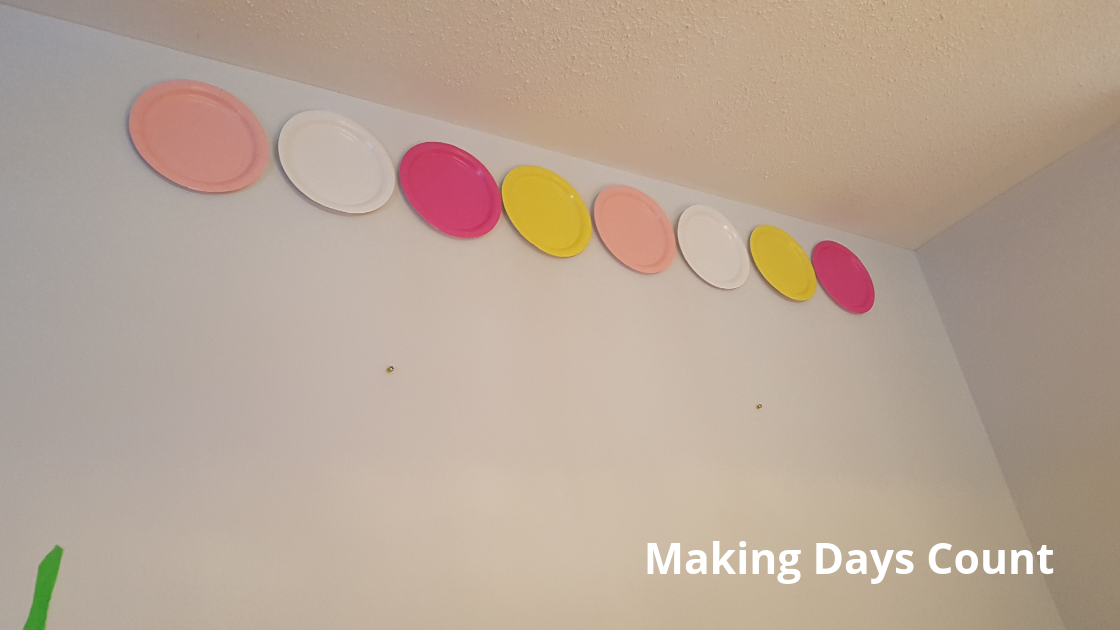
Step Three: Put your paper plates up
This is the fun part. After you measured your wall and have your paper plates ready, it’s time to put it up.
My design is pretty simple. The plan was to put 7 across and 10 down, which totaled up to 70 plates. However, when putting up the plates, we realized that we could actually put 8 across and 8 down as we did not really need to put it all the way down to the floor.
How we decide where we want to put each color was by random. As long as they are not the same color next to each other, we’re good. It was such a random process but really fun.
Slowly but surely (okay, not that slow), it came together. It looks so beautiful.
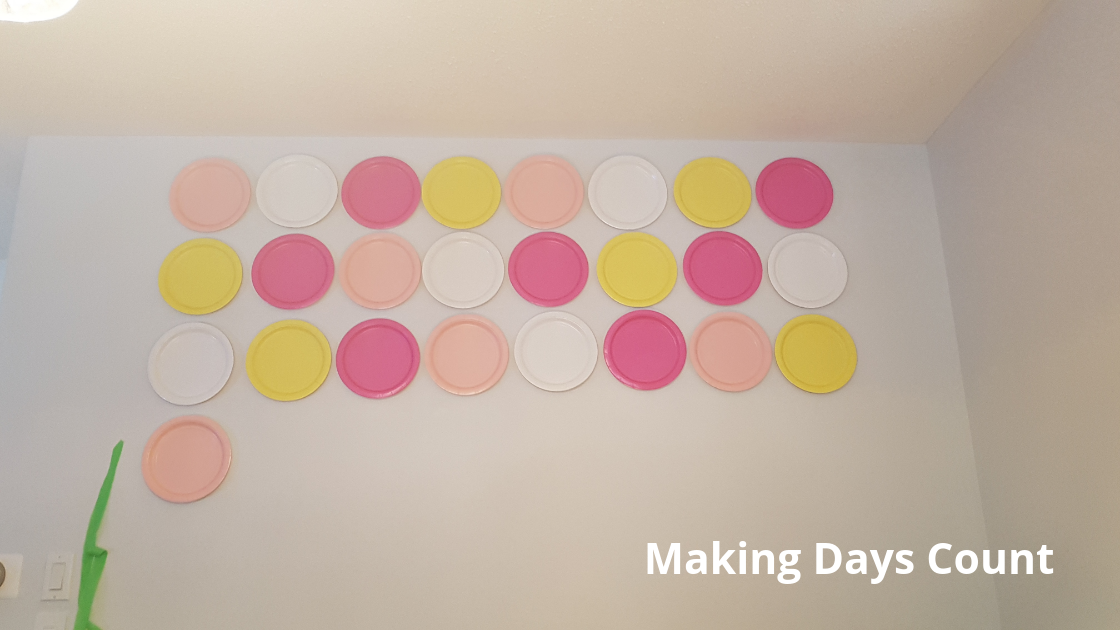
Please note that I put this up two weeks before the party to avoid the rush the night before. It stayed up!
Step Four: Enjoy your cheap wall party decor
Now that you are done, take a step back and enjoy what you have designed and created. Though you did not spend a lot of money on it, it will serve as a beautiful backdrop for your party. Don’t be surprised if many people will take selfies in front of it.
I am so proud of us who can create beautiful things on a budget.
Thanks for reading this DIY Cheap Party Decor post. To see more of Baby K’s birthday series, please check these posts below (I will try to update them as I write more):
1. How to Design a Birthday Invitation for Free
2. 9 Motherhood Lessons: My First Year
3. DIY First Birthday Games: Who Knows Baby Best
4. Cheap Party Decor: $5 Paper Plate Wall (this post)
5. How to save money on 1st birthday party
6. My 30 Hour Labor and Delivery Story
If you like what you read, please pin the image below and share this with others. Thank you so much.
Leave a Reply